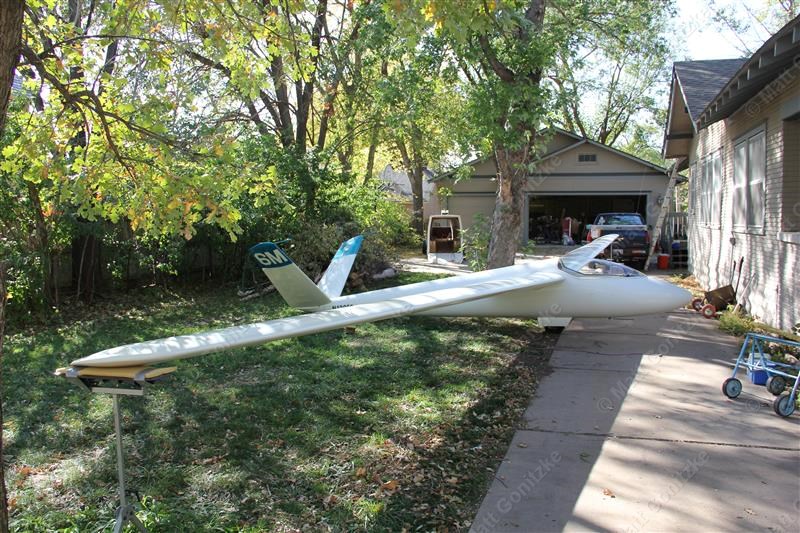
I started flying gliders shortly after moving to Kansas in 2011. By early 2012 my friend and glider instructor, Tony, had convinced me that I could both afford to buy a glider and that I could get a project and fix it up in his garage by the time I finished my glider add-on rating. Thus began my quest for a glider in my price range that I could fit in. I am 6' 3" tall, and quite a few of the older (read affordable) gliders are uncomfortable for someone of my height. This Schempp-Hirth SH1 "Standard Austria" was available for sale by another glider pilot in our club. I looked at it and tried it on, and was pleased that I fit in it. Money exchanged hands, and I became the proud new owner of a glider!
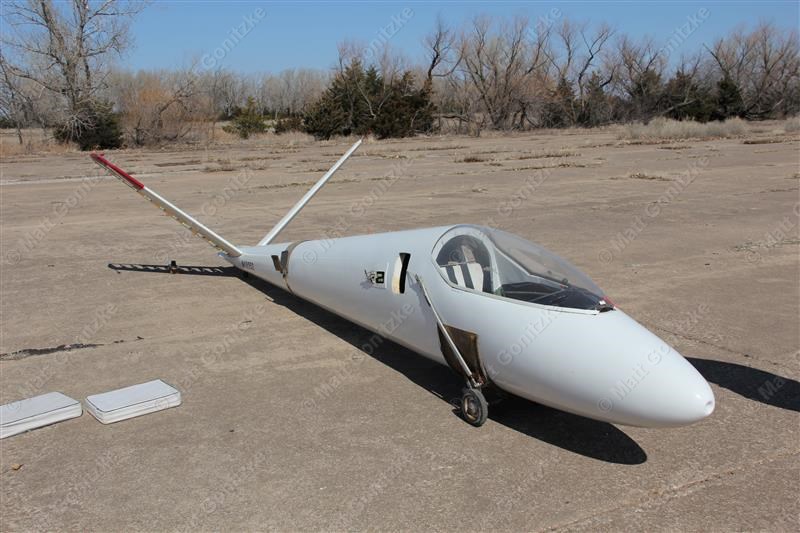
This is what it the Austria looked like the day I bought it. The previous owner had already removed the fabric from the tails, as it had deteriorated to the point that it was no longer airworthy. I figured that 6 weeks or so of fabric work would result in an airworthy glider. Little did I know...
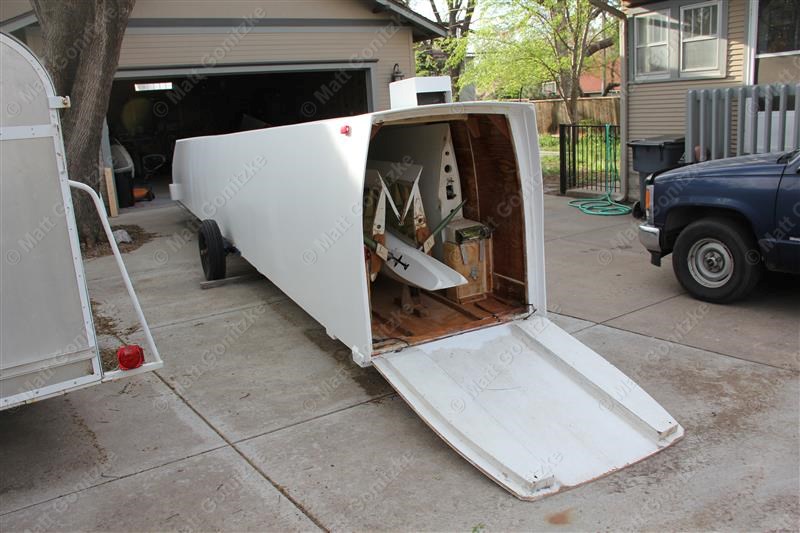
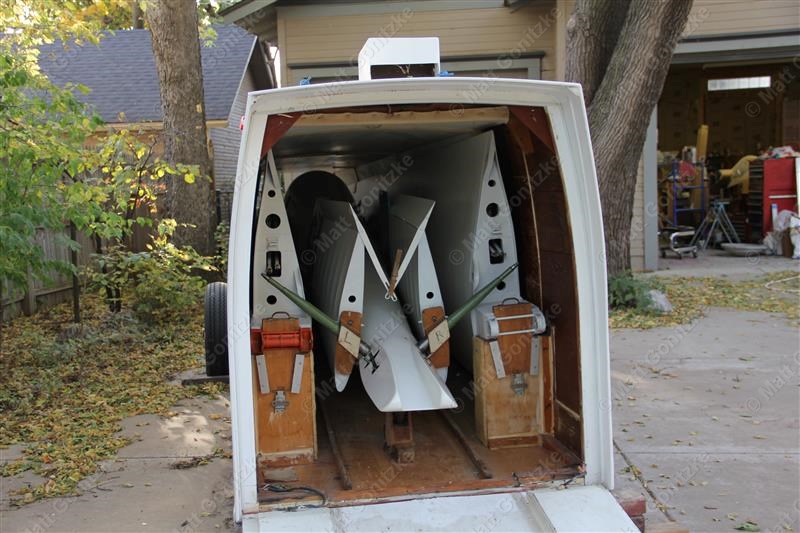
Tony and I promptly moved the Austria to his garage so work could begin immediately. The early 1980's homemade wooden trailer it came in is in pretty good shape; only a few minor repairs to its fiberglass outer coating and paint were required. It is only as big as it needs to be, so care is required when rigging and de-rigging the glider.
I decided to start with something easy- stripping the remaining paint off of the tail surfaces. I uncovered another dark blue contest number under the paint, but unfortunately there wasn't enough left to tell what it was.
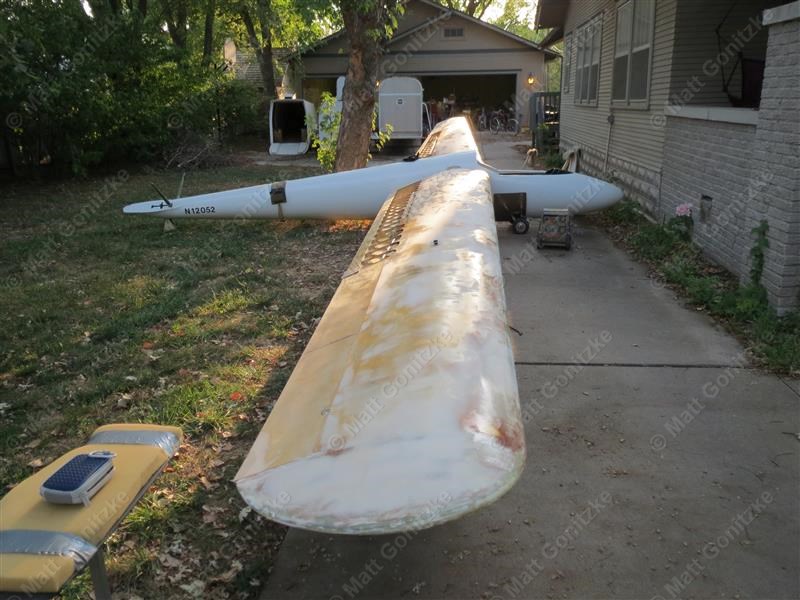
At this point, the wings came out of the trailer too, as we determined that the fabric on them was original and shot. The dope was the only thing providing any strength. The paint actually looks nice in this picture, but it was cracking and falling off in many places. Best I can tell, it had last been painted in 1979 when the fuselage was repaired after a bad landout. It was shiny but had become very brittle. It was also done lazily in that the original finish hadn't been stripped, so a lot of excess weight was being carried around.
Here's a close-up of the cradles that were made to hold the wings while they were out of the trailer.
Here everything but the balance weight on one of the tails has been stripped.

Here is the only wood repair that had to be made to the entire glider. There was some damage to the very thin (1mm) plywood at the bottom edge of one of the tails. One of our club members was kind enough to help me repair this so I could continue with the refinishing.
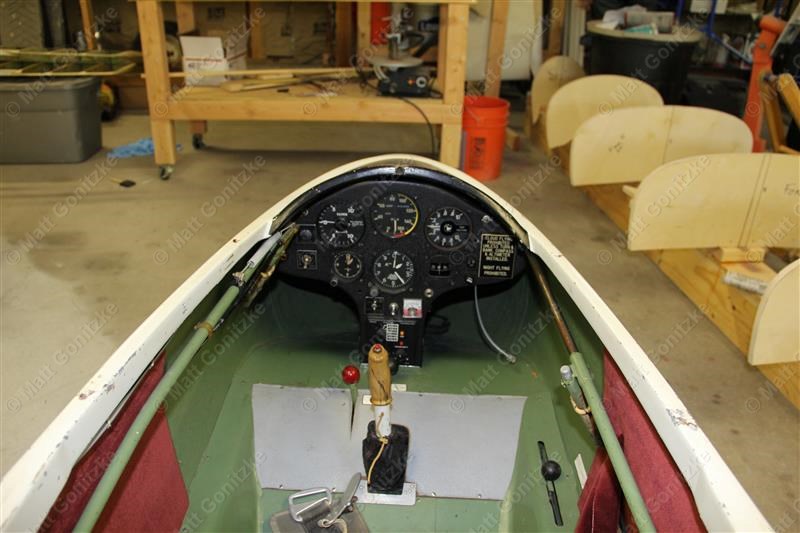
Here is a decent "before" picture of the instrument panel, which I wouldn't get around to fixing up until 2013. At the time it was sporting an ancient RST radio that only had 5 or 6 channels and is totally illegal to have in a type certificated glider.
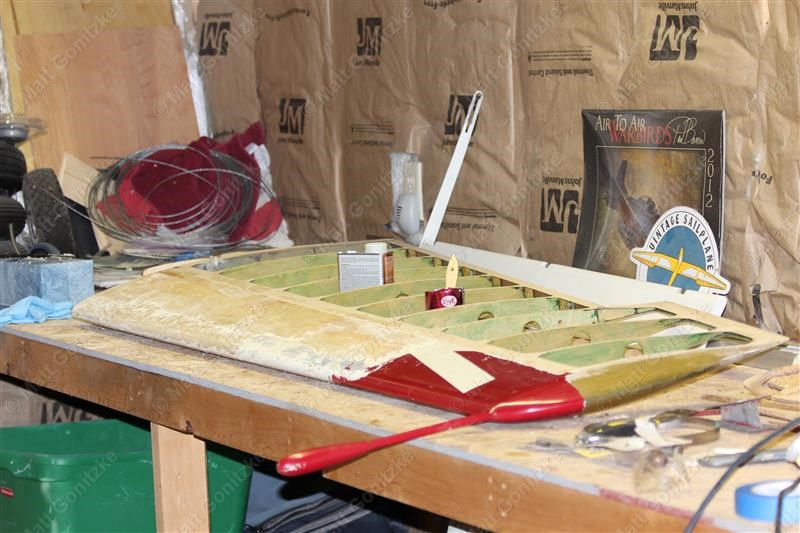
These are the trim/servo tabs for the tails. They are plywood with a balsa leading edge and presumably a balsa core as well. The leading edge was very easy to damage during the paint stripping process, and I had to replace a portion of it that had been damaged long ago.
There are several signatures, notes, and dates scrawled on the structure in German in various places. I masked these off so that they would still be visible after painting.
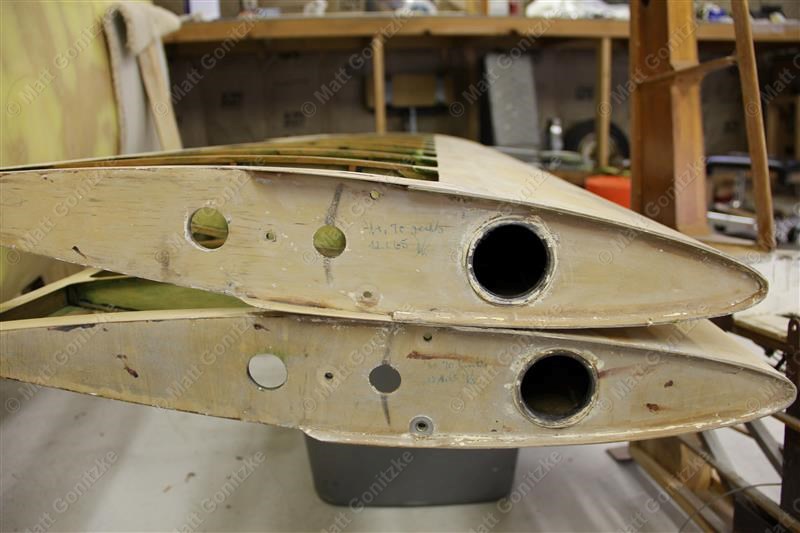
Here both tails are more or less completely stripped and ready to be varnished. Interestingly, none of the wood was varnished by Schempp-Hirth. Miraculously, there was essentially zero water damage to any of the structure.
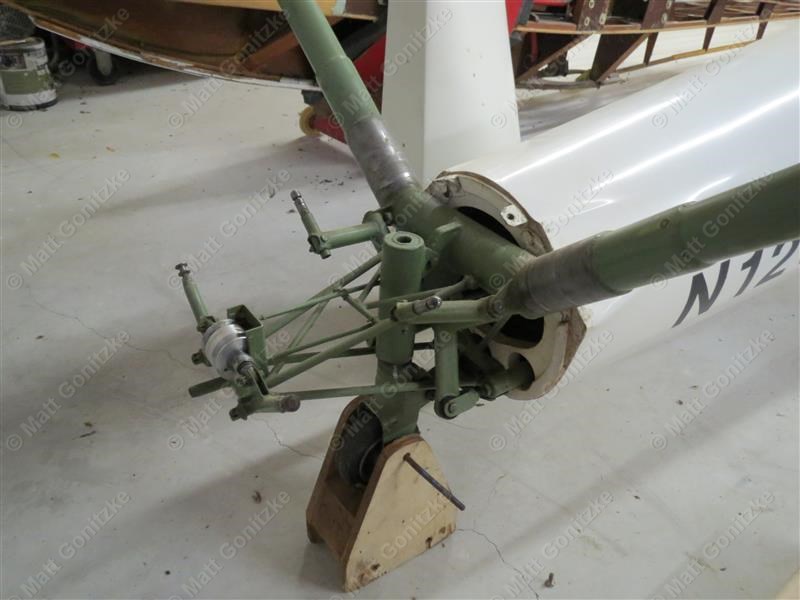
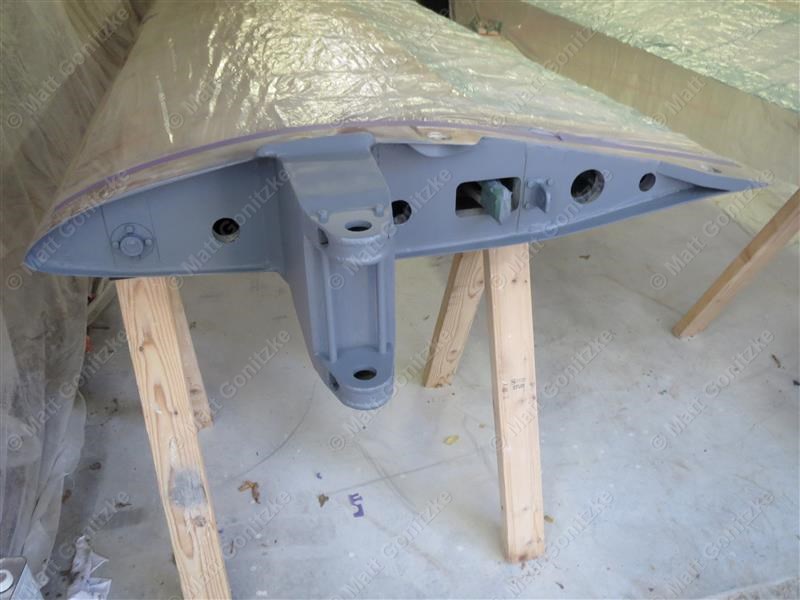
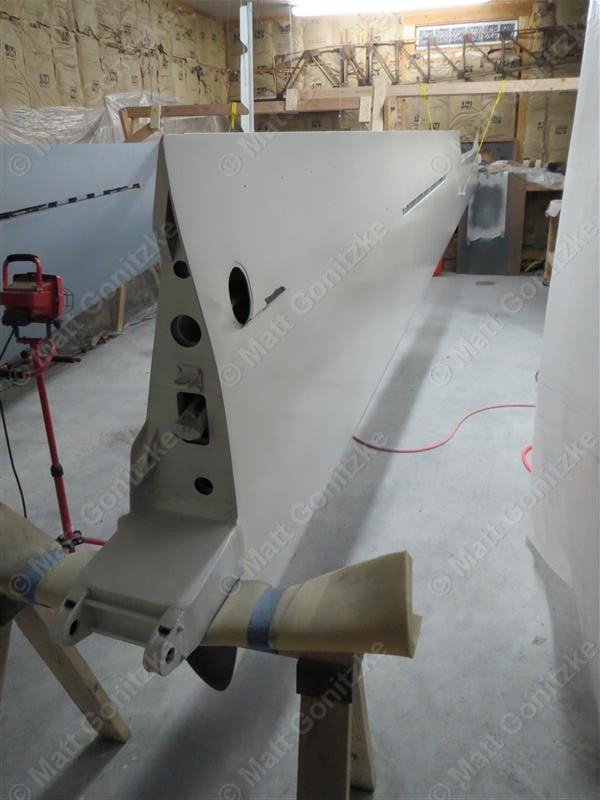
The tail support structure on the Austria is a very intricate weldment that is both the support for the tails, the pivot for them (they are an all-flying design), and contains the trim and servo tab actuation.
After stripping the tails completely down to bare wood, including the removal of the original filler on them, I added new filler to smooth them back out. I used West System Epoxy with 410 microlight filler on the tails, as well as the wings and fuselage.

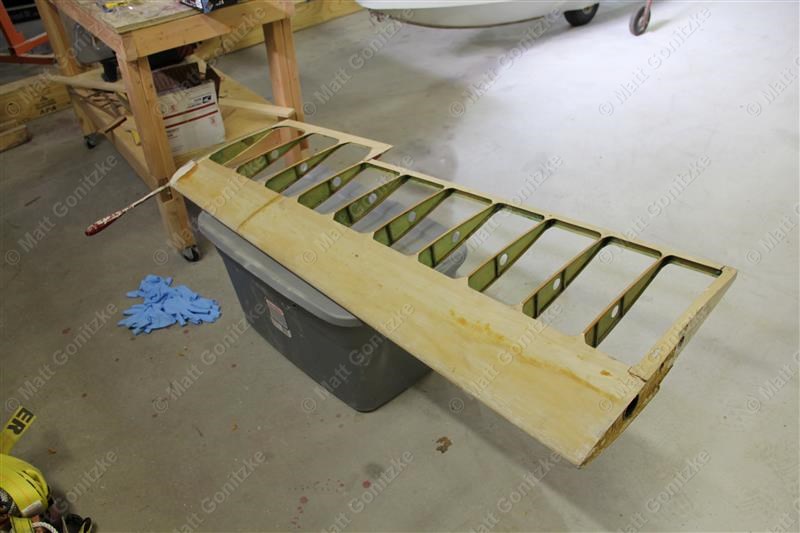
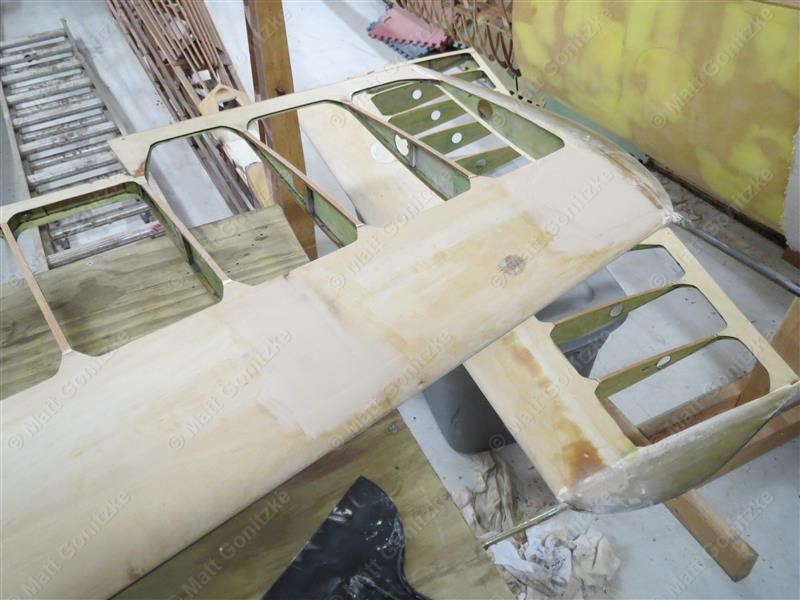
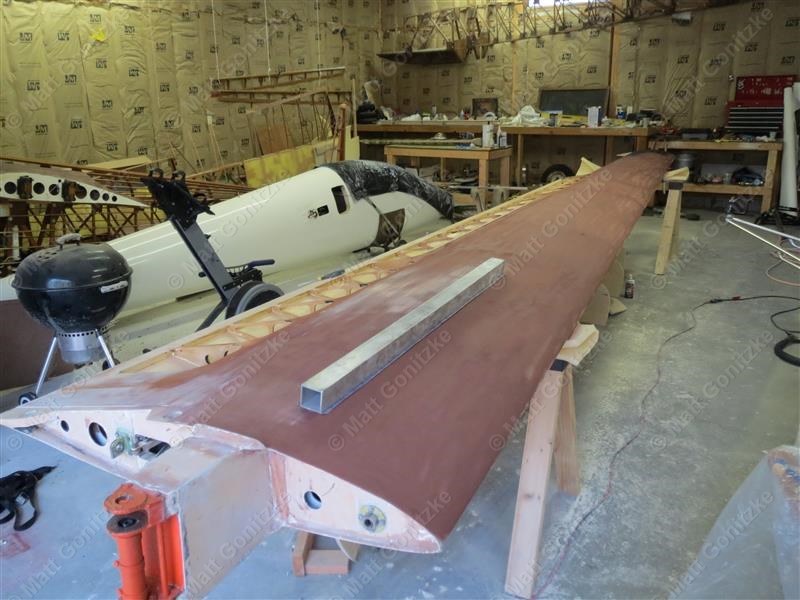
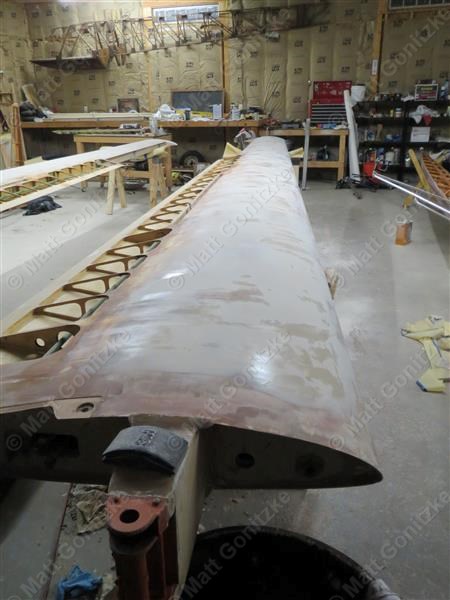
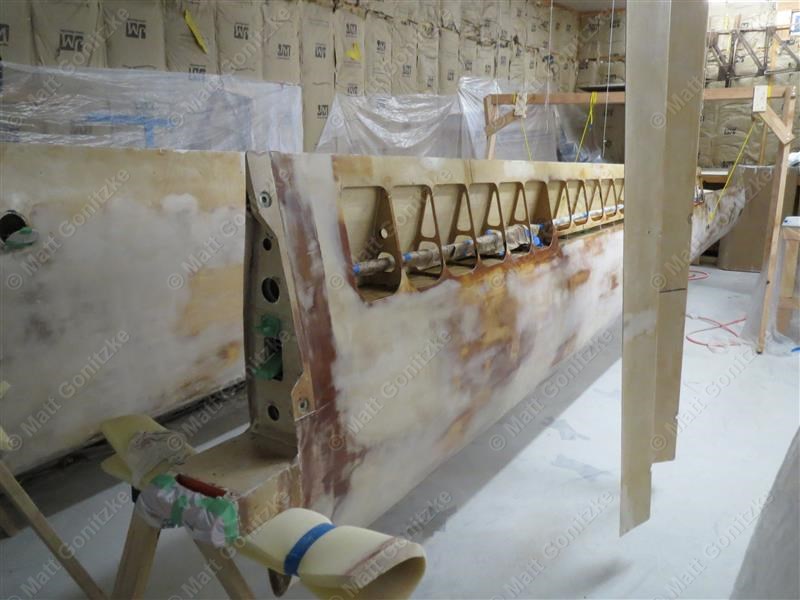
One of the wings is at the beginning of the sanding/filling process. Apparently I didn't take any pictures during the paint stripping process. I had to remove paint over primer over another layer of paint over some weird white lead-based filler to get down to bare wood. The original filler was cracking and falling off all over the place. Since I don't want to have to do this again for a LONG time, I stripped everything down to essentially bare wood and started over. Filler was added in and sanded off with a 4' sanding block, followed by 2' and 1' sanding blocks once the low spots got smaller. At this point I had not yet discovered the wonderful sanding blocks I used on the fuselage; I ended up using the straightest piece of extruded square aluminum tubing I could find and glued sandpaper-on-roll from Harbor Freight to it. That worked OK, but Harbor Freight sandpaper is terrible, and wears up and clogs quickly. You really get what you pay for with sandpaper.
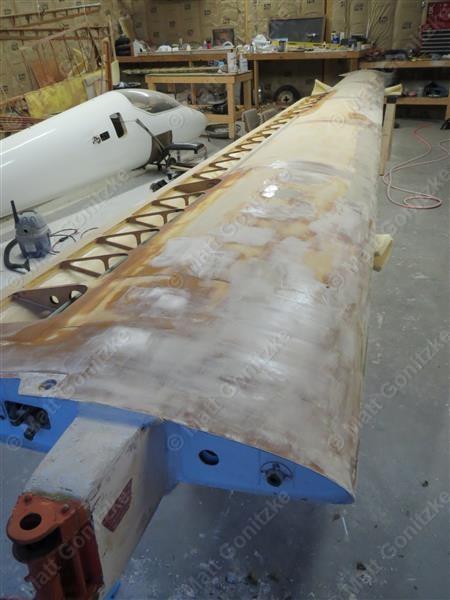
This picture was probably taken after the first coat of filler was sanded off. At this point I had no idea I'd be spending 60-80 hours filling and sanding the wings. I later outdid myself and spent longer on less surface area when I did the fuselage.
This did not work. I had the idea to use spray paint to tell where I had and hadn't been with the sandpaper. It took more than an entire can of paint to spray the top of one wing once, and after becoming worried about adhesion of subsequent coats of filler, I sanded all the primer off and did without. It's not really needed, as it's pretty easy to tell where the filler wasn't touched by the sandpaper.
If nothing else, the primer makes it obvious in this picture how far from smooth the wing is after one fill/sand cycle.
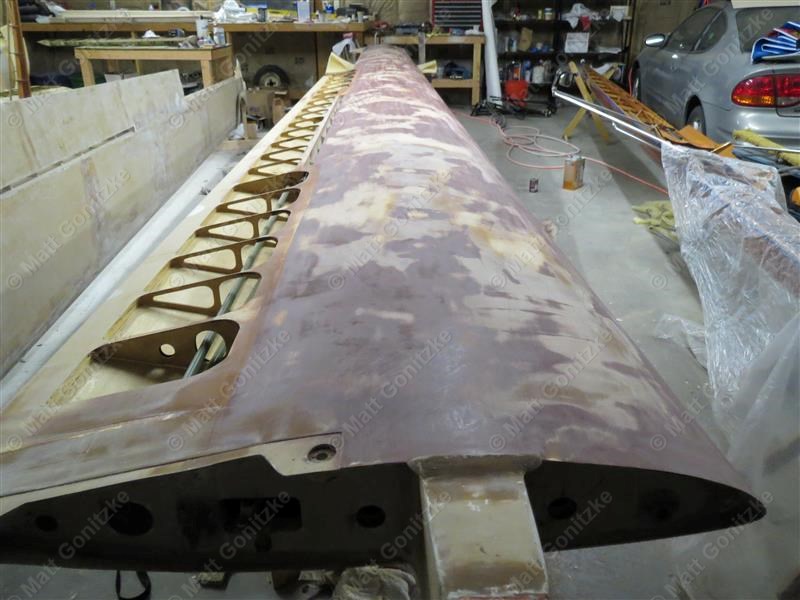
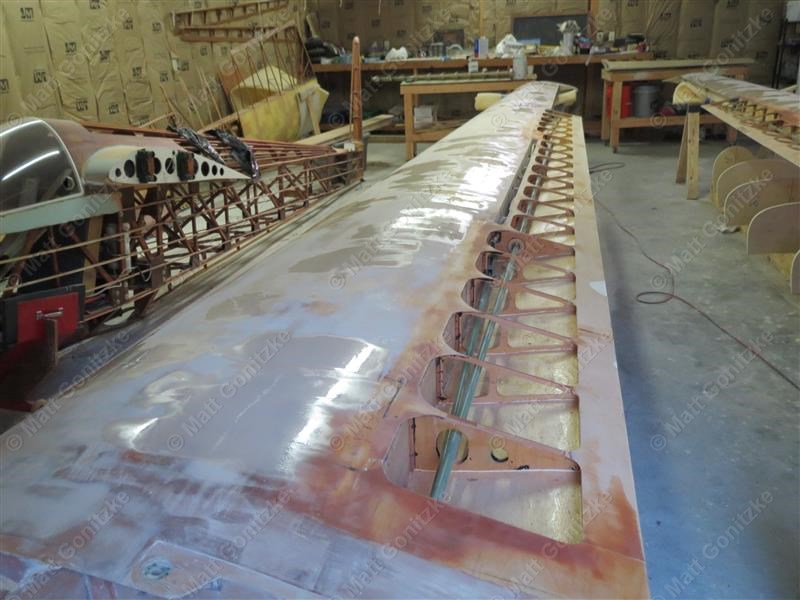
A bit later in the process, there are fewer shiny spots, which means it is getting closer. When all the shiny spots are filled in, all of the low spots have been filled, and a smooth surface should remain.
Nearing the end of the fill/sand process in this picture.
...And that was just for one side of one wing. I then had to do the top of the other wing.
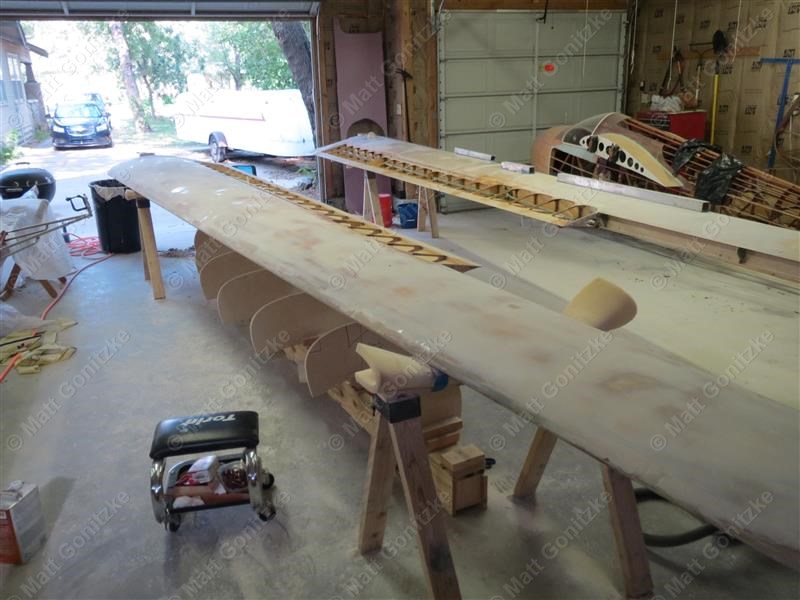
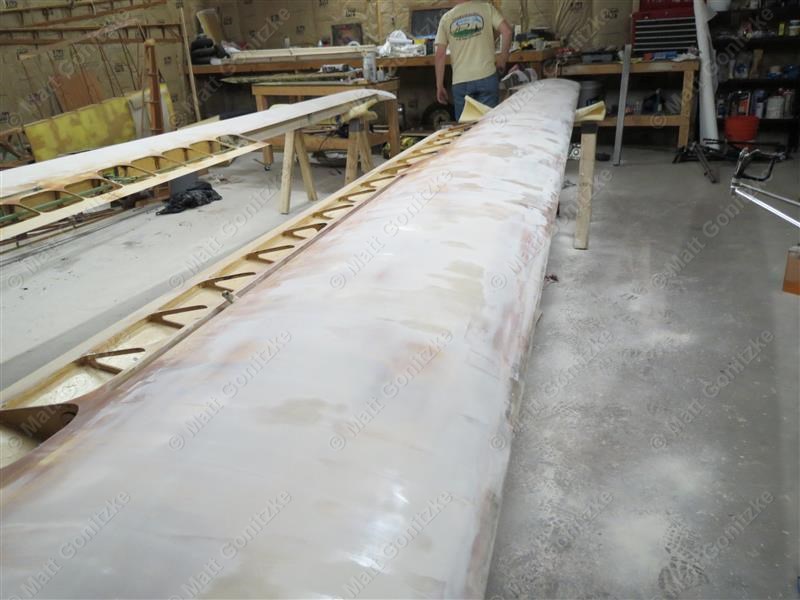
At this point they are both pretty close to being done, as evidenced by the mostly dull apperance of the filler.
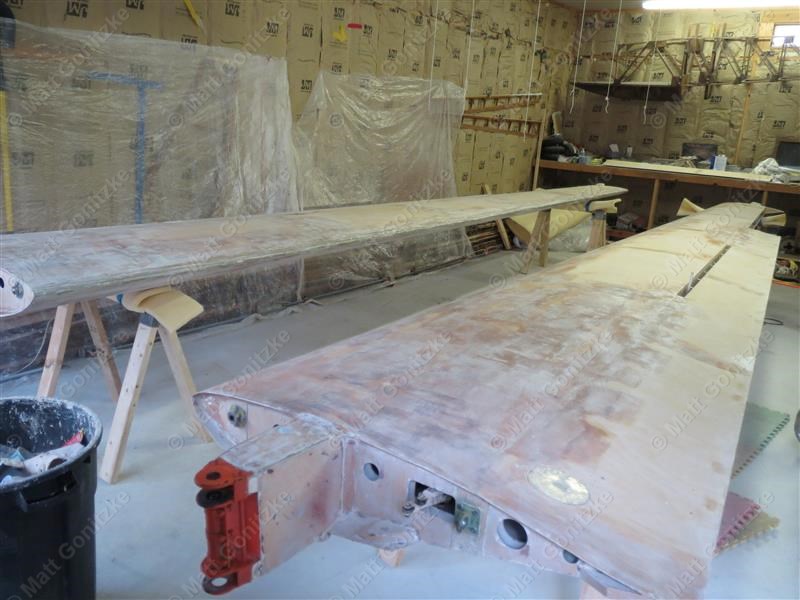
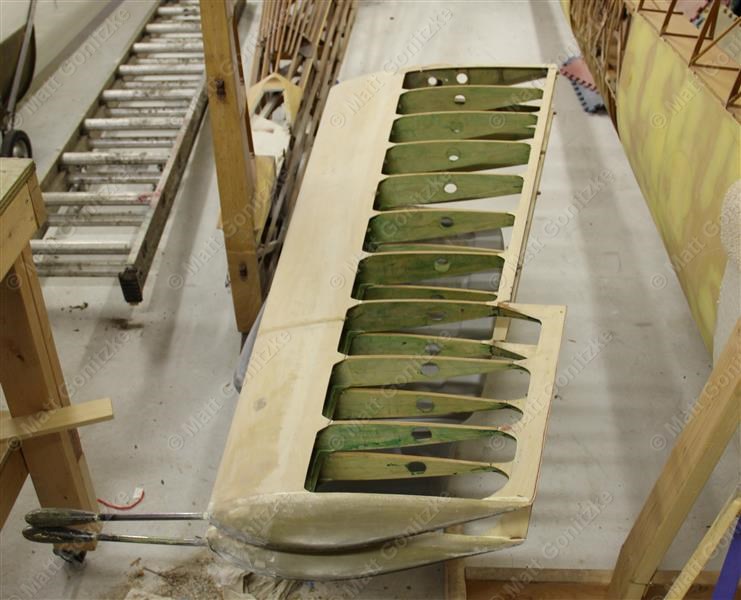
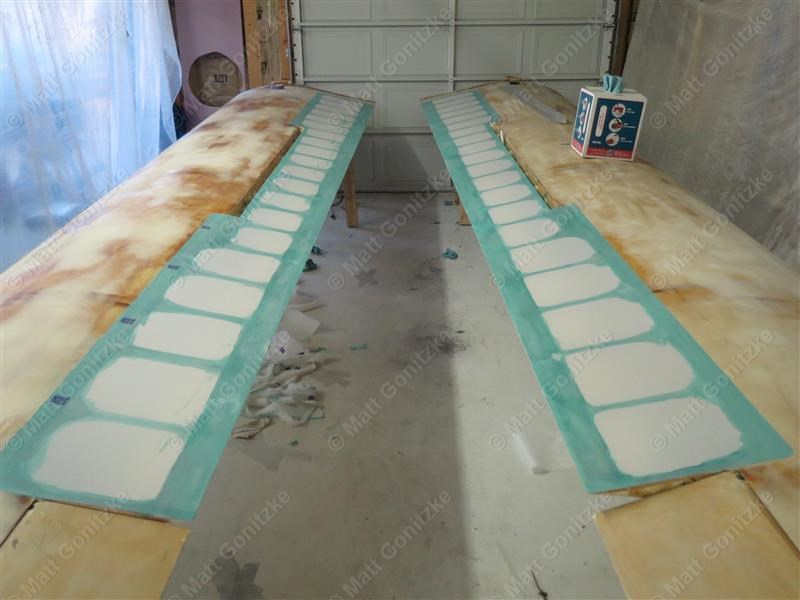
I then turned my attention to the bottom surface of both wings, although I did not go quite as crazy with the bottom, as I was not as concerned about appearance or the extent to which laminar flow would be attached. The upper surface is more critical for both items.
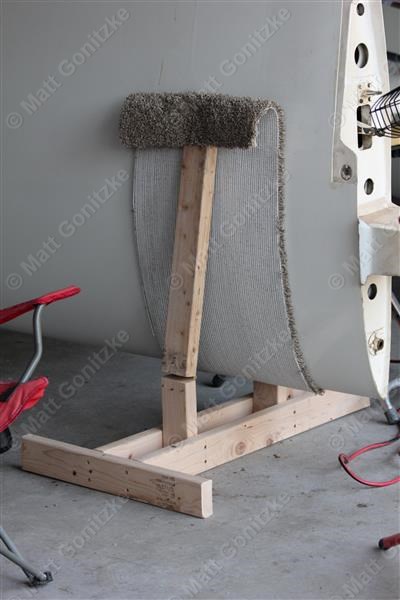
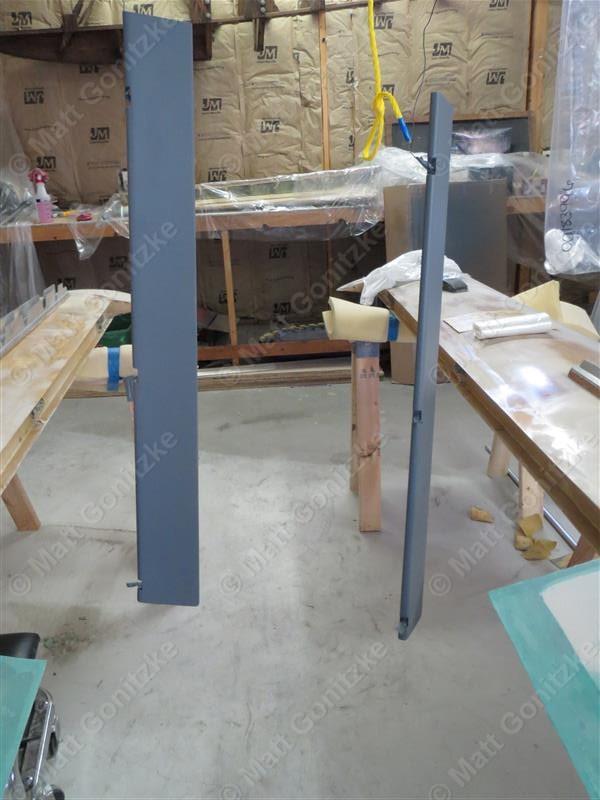
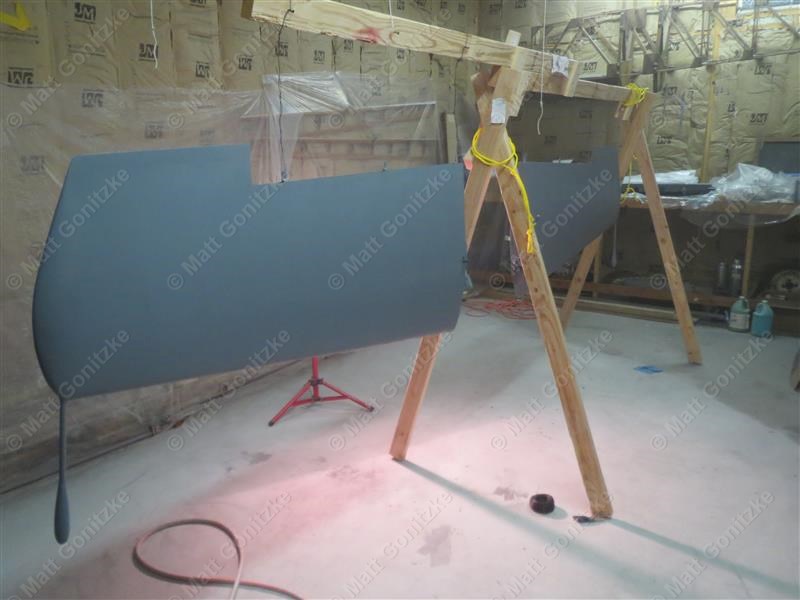
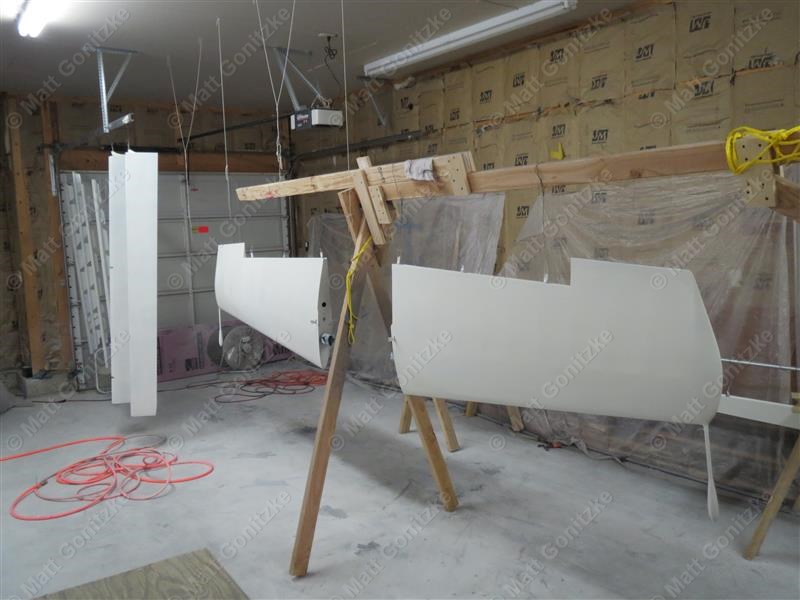
I decided to completely varnish any remaining exposed wood with Stits EV-400 Epoxy Varnish to ensure that the wood would be sufficiently protected from the elements. This quickly thrown-together support for the tails did not work as well I hoped; the paint gun blew them all over the place, and the conduit bent under the rather light weight of the tails. It did get me through the process, though...
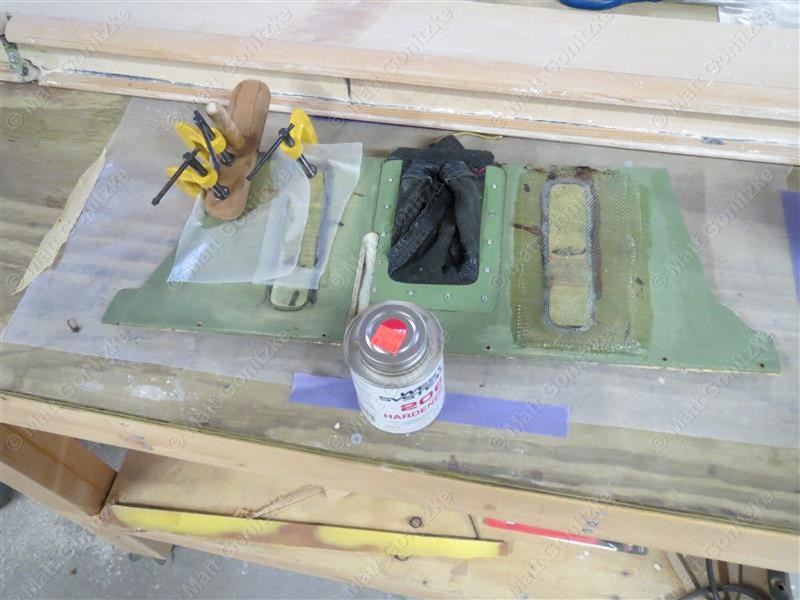
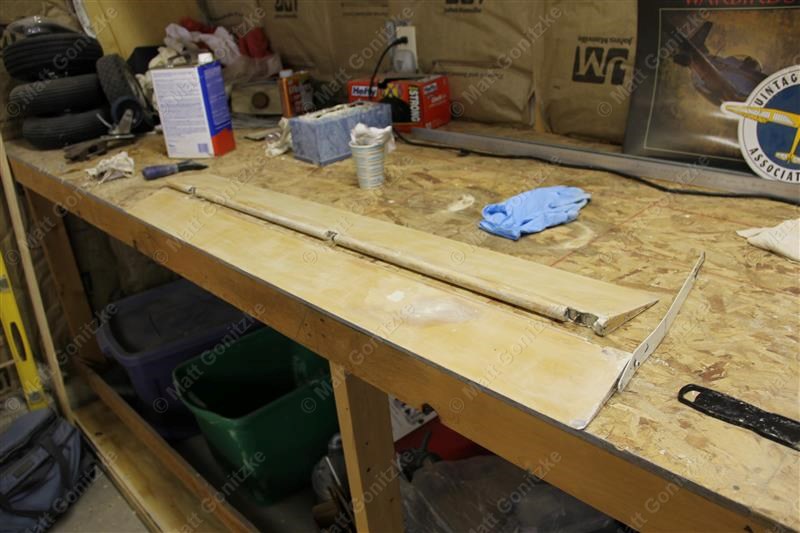
This is panel in the fuselage that covers the control stick and most of the control linkages between the pilot and the instrument panel. Too many years of being used as a step had cracked it pretty badly, so I repaired and stiffened it with several layers of fiberglass cloth and West System epoxy. Hopefully it will last much longer now.
After masking off everything I didn't want varnished, I sprayed everything with the previously-mentioned epoxy varnish. I'm fairly sure Tony was out of town whatever week I did this and I had to have my friend Sean from work help me with the varnish. It was probably late August or early September 2012 at this point and 100 degrees out, causing me to have to store the mixed varnish in an ice chest while it catalyzed so I wouldn't lose it instantly in the heat before it could be sprayed.
Before covering the wings, Tony helped me assemble the wings to the fuselage for the first time since I bought the glider to check the control throws before closing up the wings, as any adjustments would be much easier to make without the fabric. We determined that the aileron deflections conformed to the TCDS within the margin of error of our measurement method, which was rather complicated, due to the measurement called out in the flight manual being with reference to a point floating in space behind the trailing edge of the aileron...
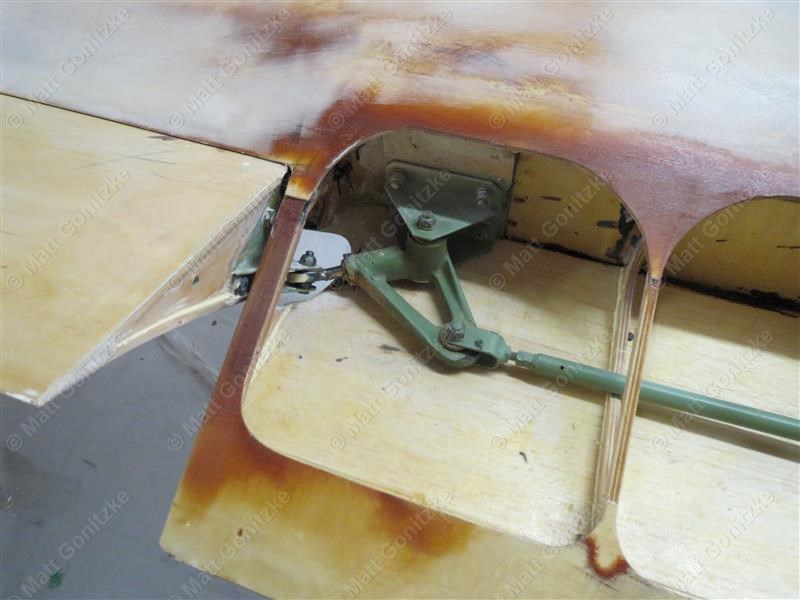
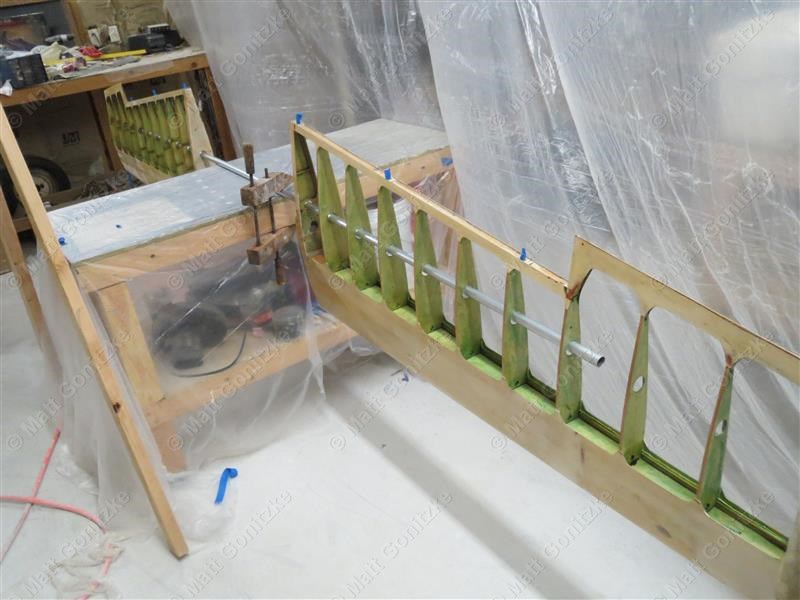
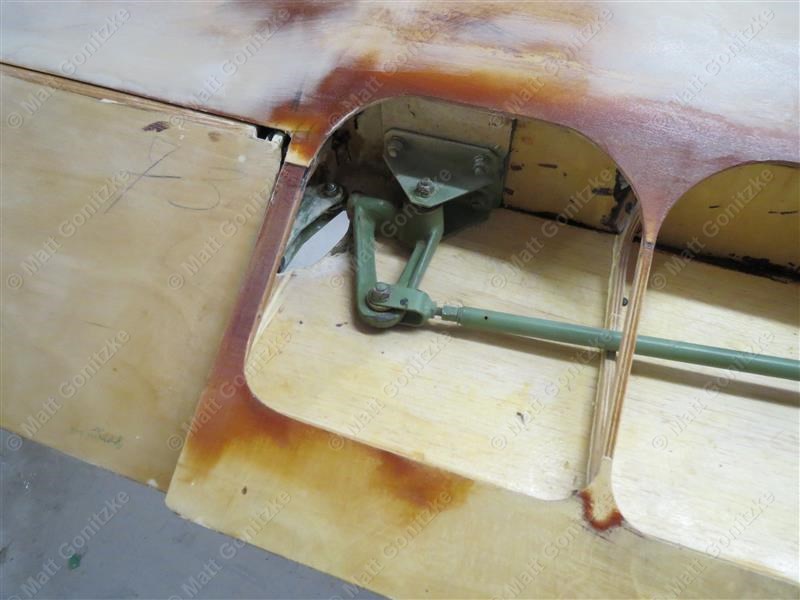
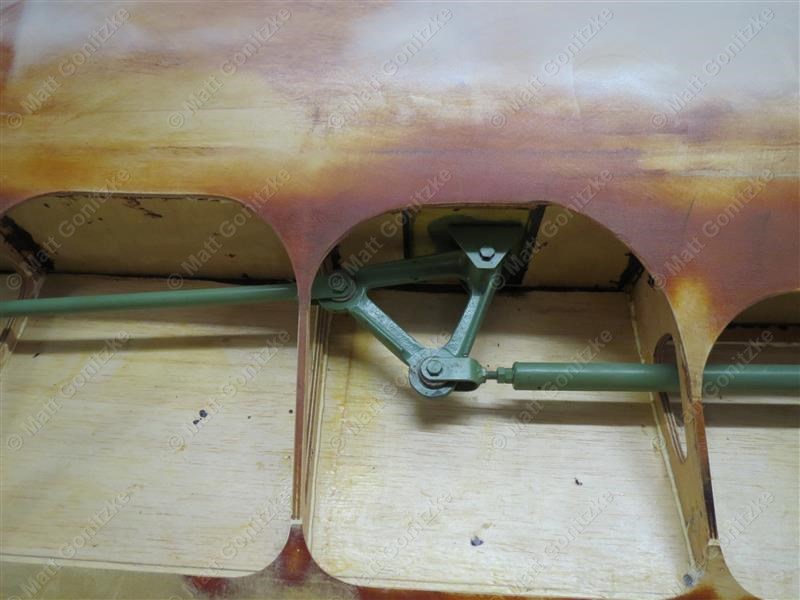
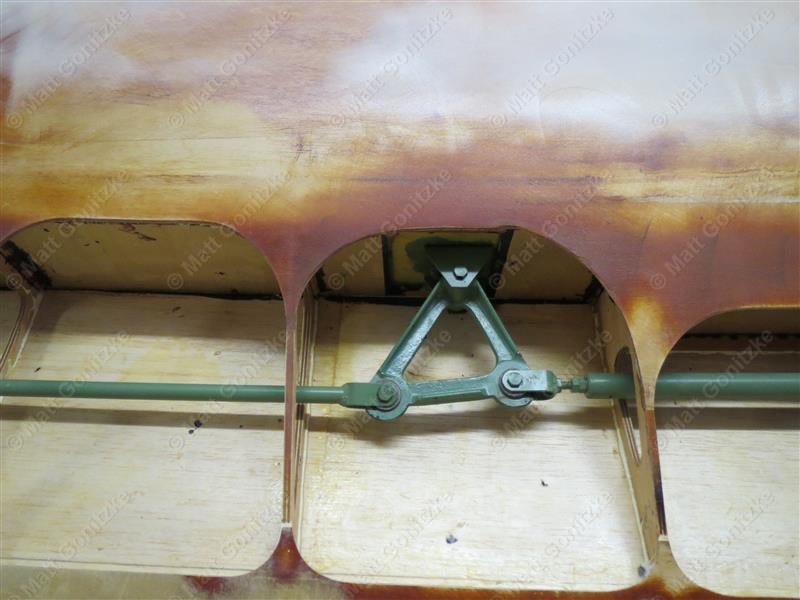
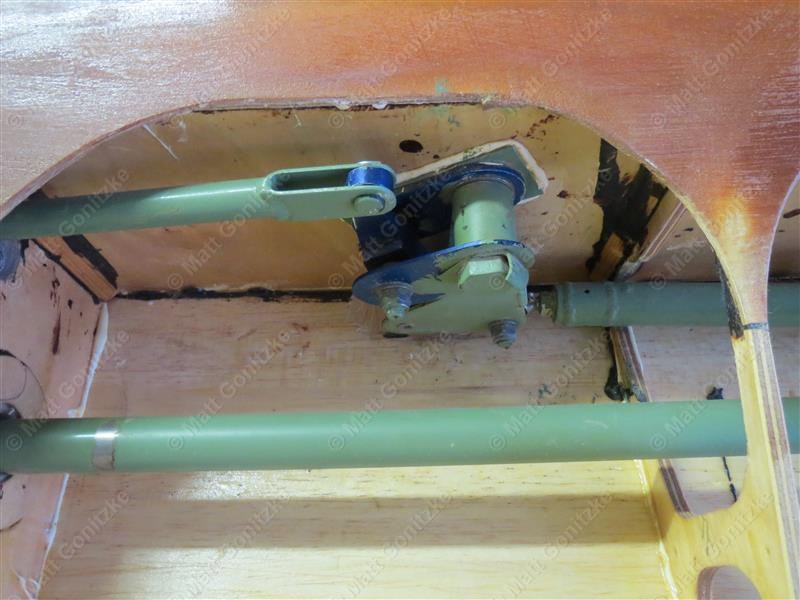
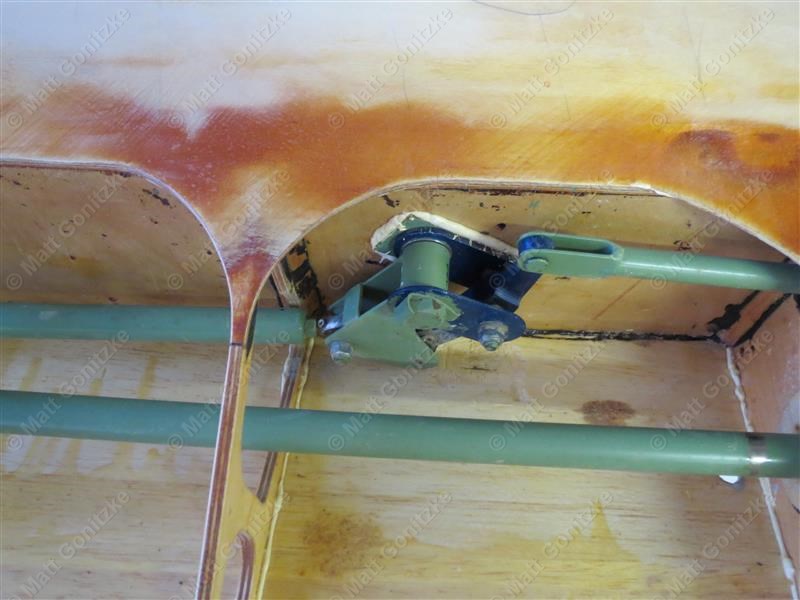
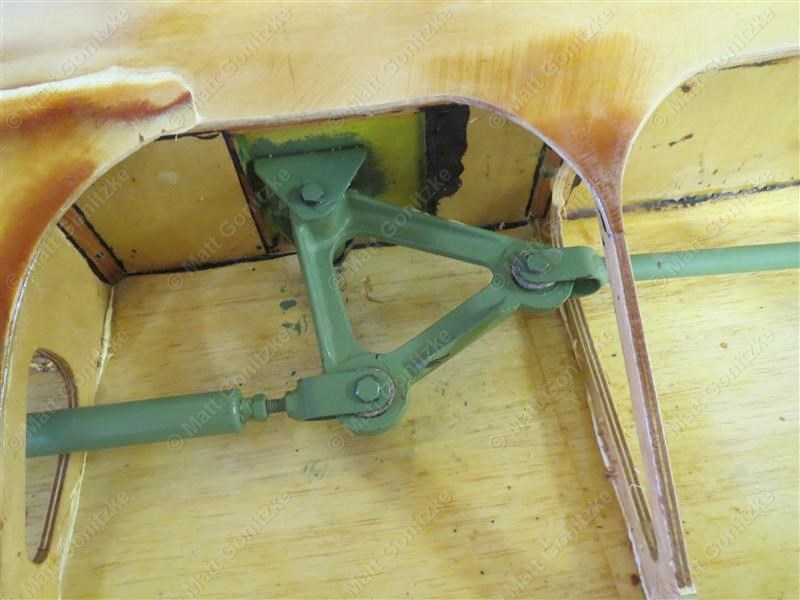
The next series of pictures details the elegant but complicated push-pull tube system used to actuate the ailerons. The outboard bellcrank has a spherical bearing in it, and rotates, pivots, and causes the rod end connected to the aileron to translate in and out of the bellcrank, as well as twist. All of this to keep all of the control linkage completely inside the wing.
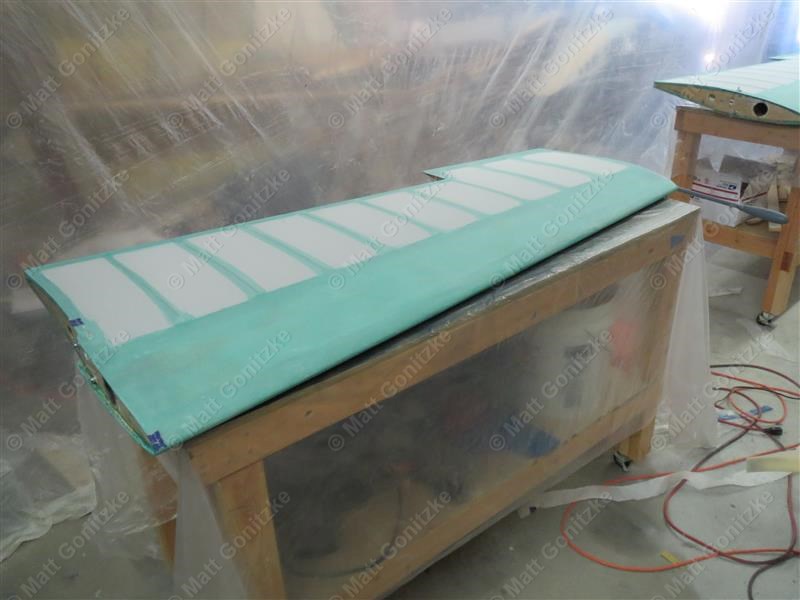
At last, the fabric covering has been applied to the wings. The Stewart Systems STC was used for the fabric and paint, as its eco-friendly composition was most appropriate for the residential neighborhood in which Tony's garage is located.
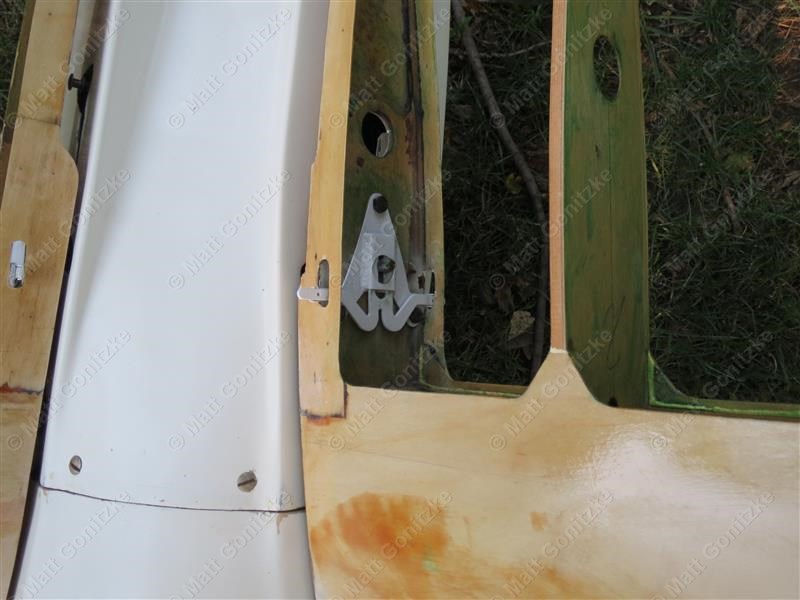
Before covering the tails, we installed to the fuselage after reinstalling the bead-blasted and repainted latch brackets to make sure the tails would fit and function properly.
One tail after application and shrinking of the fabric. Note the spot with no glue; an insect had crawled inside the tail and between the fabric and leading edge of the tail, where he was not noticed until it was too late. I decided to iron him down instead of making a mess trying to cut him out. This turned out to be a good idea, as this spot can no longer be found.
Thankfully, bugs did not crawl into the other tail.
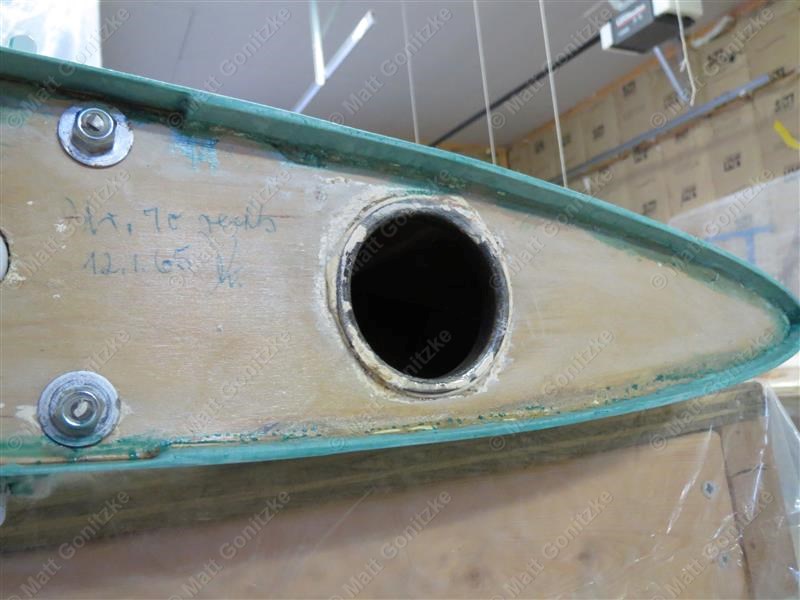
Here's a close-up of one of the dates on the tail, along with the glued edge of the fabric.
Here the tail fabric has been sprayed with EkoFill. This is the Stewart Systems version of the UV protection for the fabric.
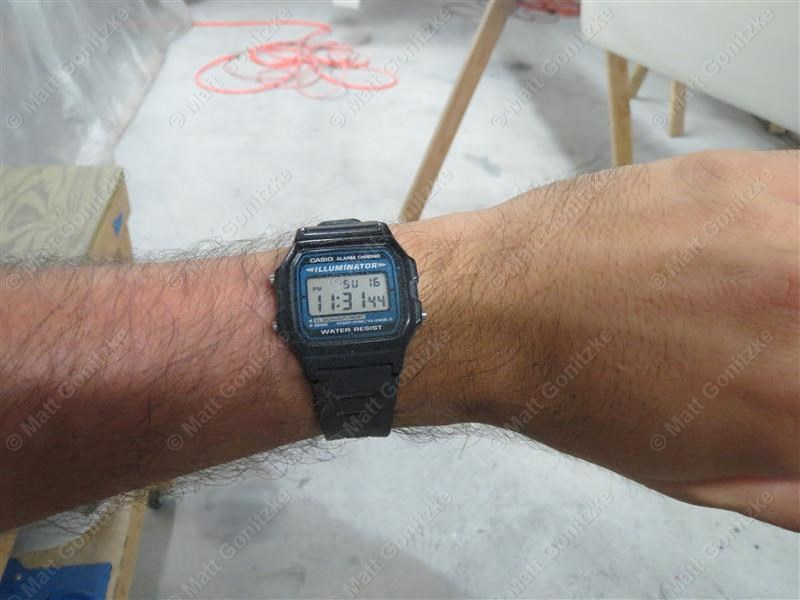
Painting always takes forever...This was Sunday, September 16, 2012, and I had work the next morning after a 10-12 hour day working on the glider. Looking back I have no idea how I managed to work at this pace. I guess being 24 years old helps.
This is probably round 2 of the white paint. I seem to recall a minor disaster the first time we attempted to do white paint, before we borrowed Harry's ice-cooled monster water trap that could get water out of the air in the Sahara desert.
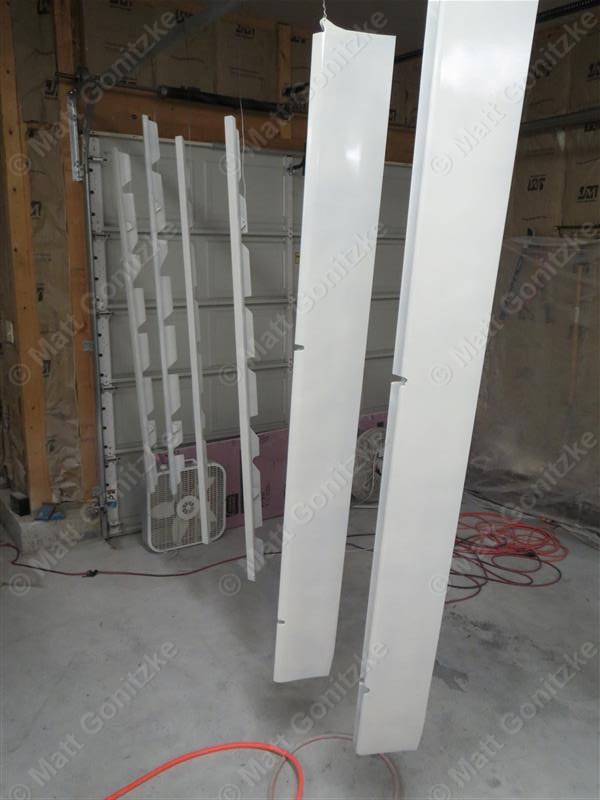
Aileron and airbrakes are hard to paint when they are so long, but I haven't really come up with a better way than hanging them from the garage door track.
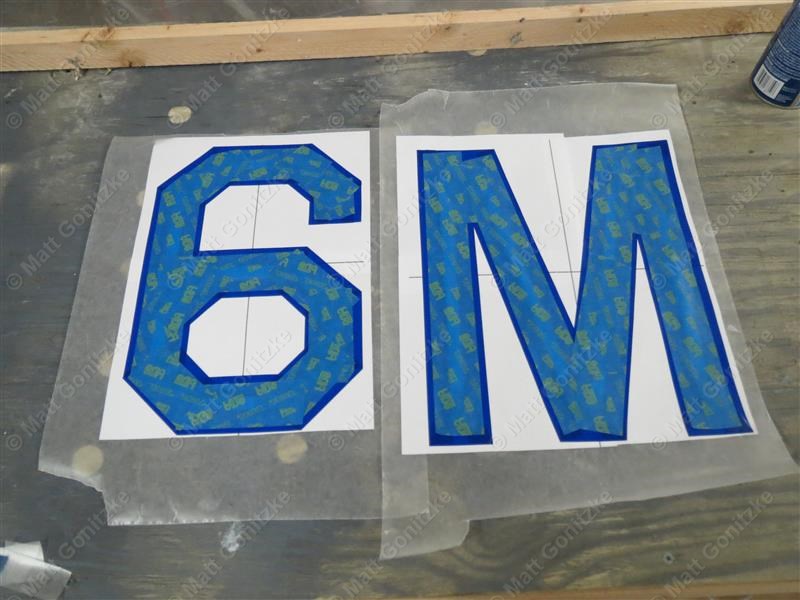
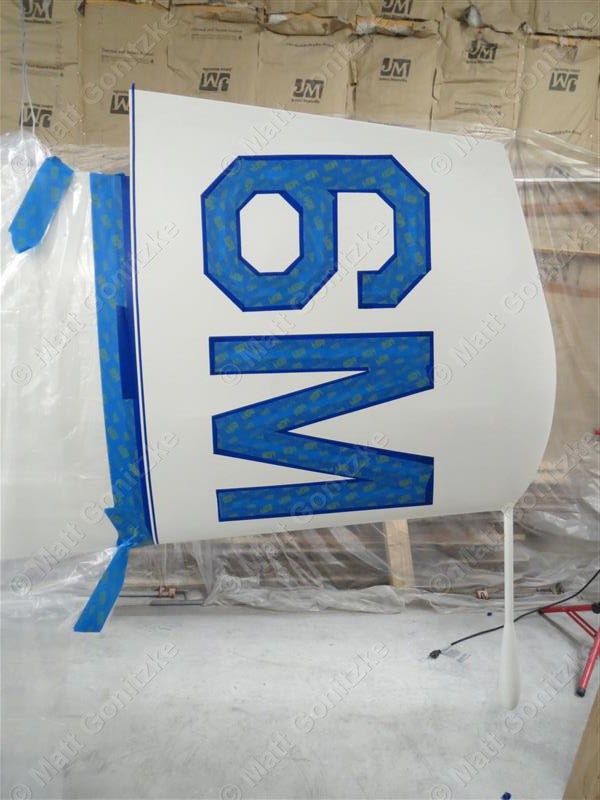
The masking tape for the contest numbers took several tries to get right. I first found that the Fine Line tape sticks too well to wax paper, which leaves both fuzzy residue on the paint surface, and also screws up any paint that goes over something that was touched by wax paper. I eventually ended up using parchment paper for layout, which almost works too well...nothing sticks to it, so I had to be very careful when putting down the layers of tape to keep it all aligned. I then had to stick the whole thing on each tail and get it lined up properly. I really don't like painting, but unfortunately it is a necessity for most of my hobbies.
I decided to add an 1/8" pinstripe at the bottom of the blue area of the tip. Placing the masking tape sure was a test of my patience.
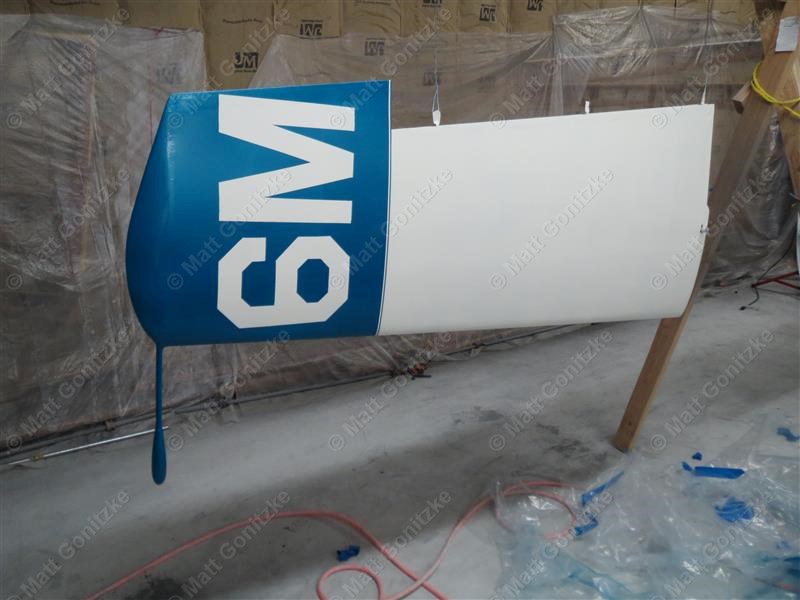
It did turn out pretty good, however.
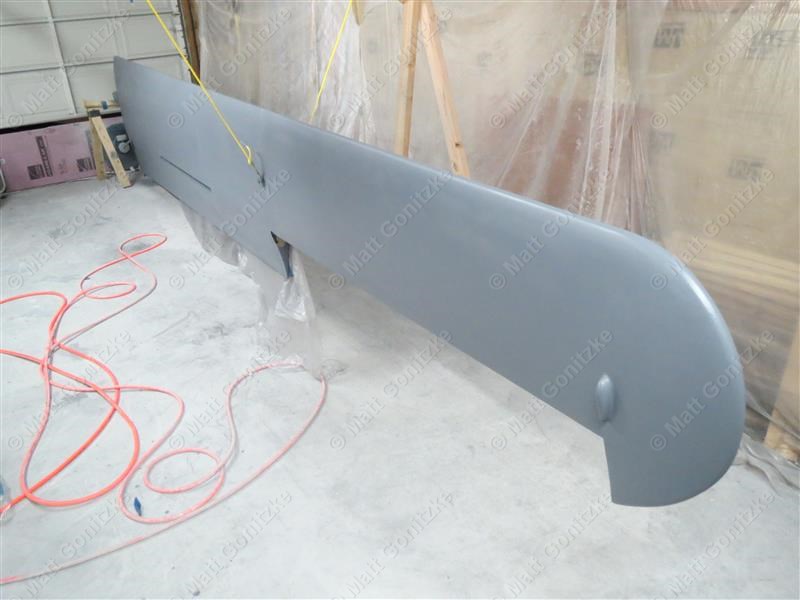
With the tails complete, it was time to paint the wings. It is roughly early September 2012 at the time these pictures were taken.
Another challenge was attempting to fair in the edge of the fabric so it would be invisible when painted. I did this by spreading some un-stirred EkoFill from the bottom of the can around the periphery of the fabric and then sanding it flush after it dried. This was a rather paintstaking process, and while it didn't turn out perfect, it's good enough that it is difficult to tell there is fabric on the wings at all.
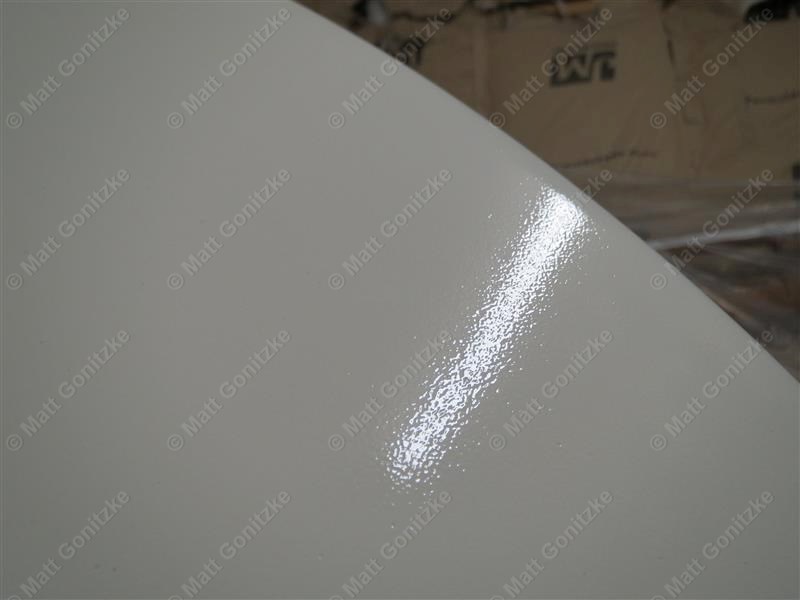
At this point I still didn't quite have the Stewart Systems paint figured out yet. I would later find out that we weren't quite mixing it right, as the viscosity cup hole was slowly becoming more and more obstructed, and I needed to be applying more paint in each pass. Most of the wings have orange peel on them, but not too bad for the most part.
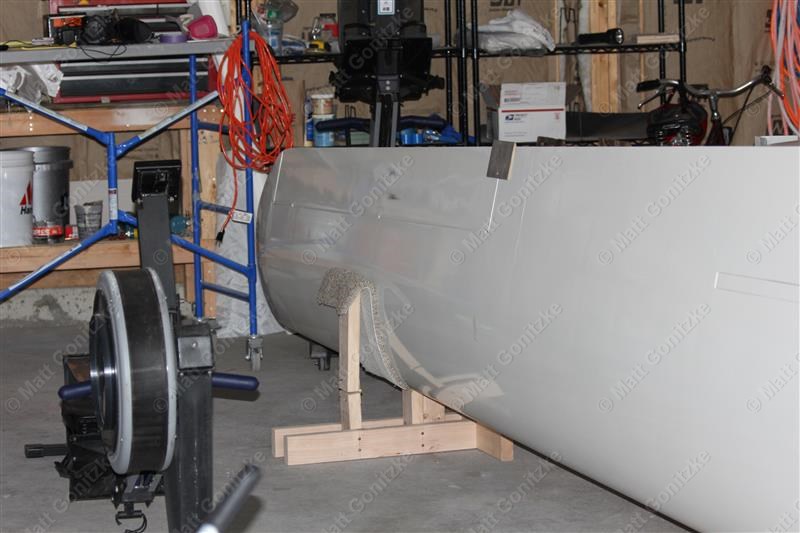
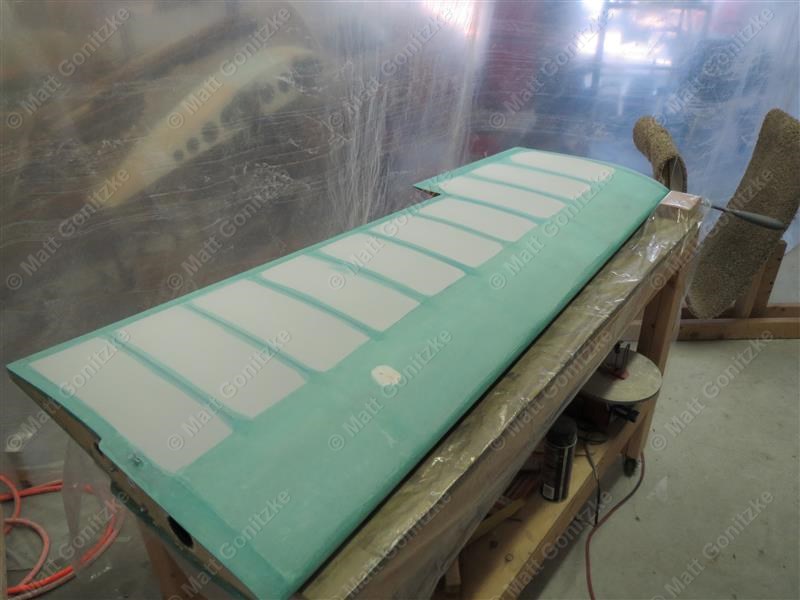
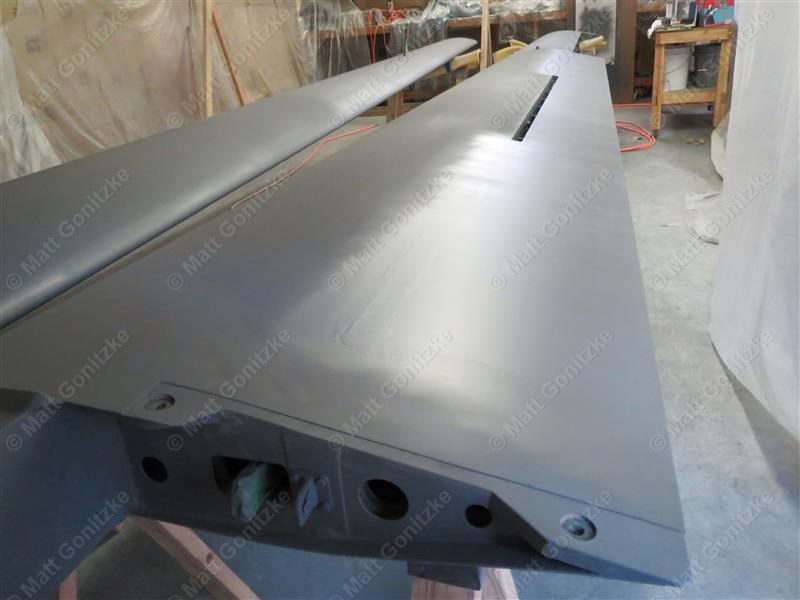
This was the arrangement I ended up using to paint the wings. It worked ok but was still far from ideal. It is really difficult to tell if the gray spots in the white paint are thin spots with primer showing through, or just reflections from the concrete floor. The leading edge was difficult to paint, as it was very near the ground. Trailing edge down may have been better.
This is how far I made it before I ran out of paint. I had hoped to have the Austria flying in time for the VSA rally at the end of September, but it took about 3 weeks to get more paint, so that did not happen.
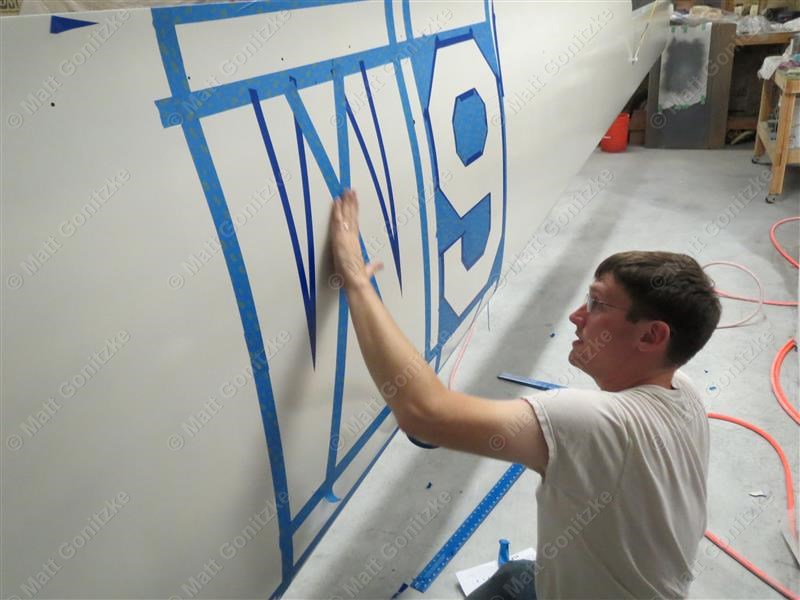
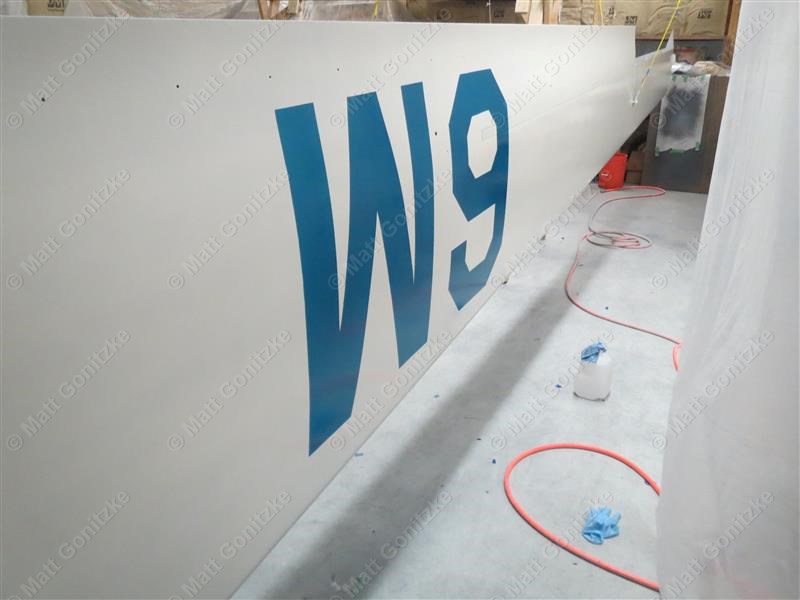
Tony helped lay out the masking tape for the contest number on the wing. I think he did a much better job of getting it straight than I would have.
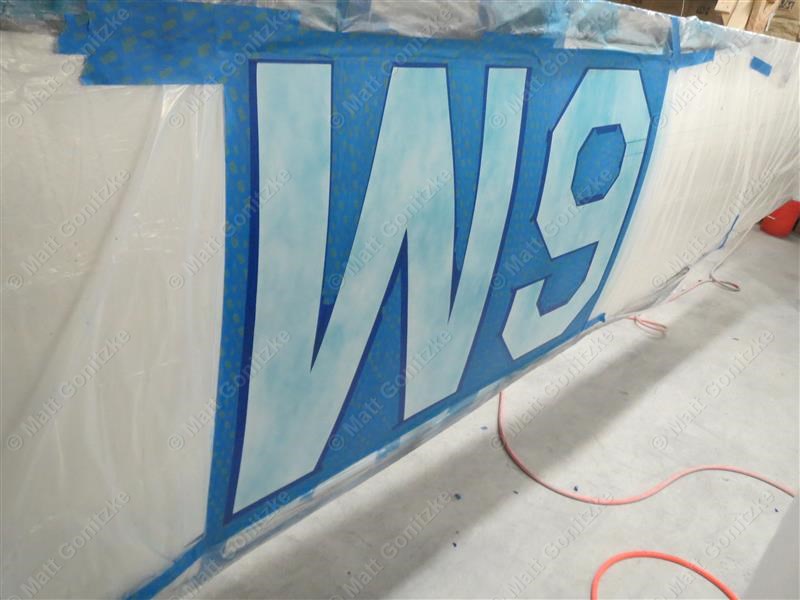
The Stewart Systems process requires you to apply multiple coats 90 degrees to each other. This is the first of five coats of blue for the contest number. I later learned the first coat can be much heavier than this; halfway between this picture and the next one is probably ideal.
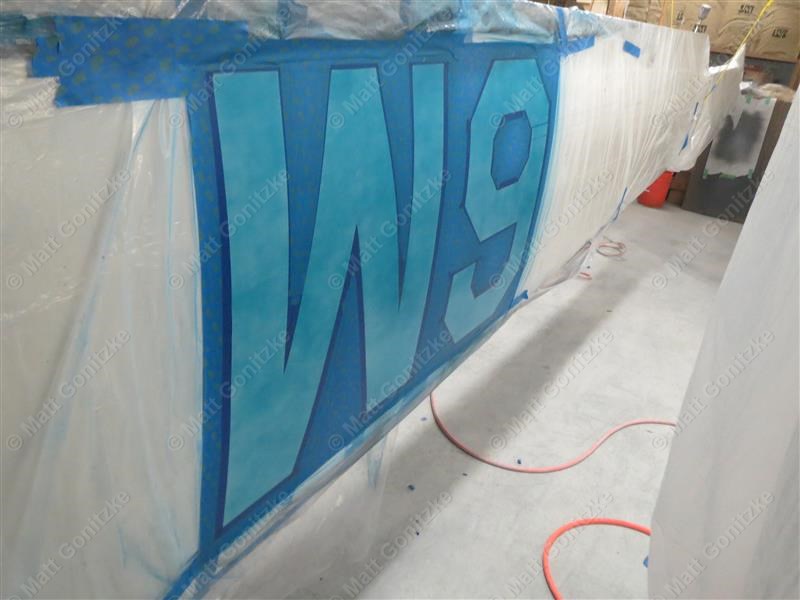
This is after the second coat.
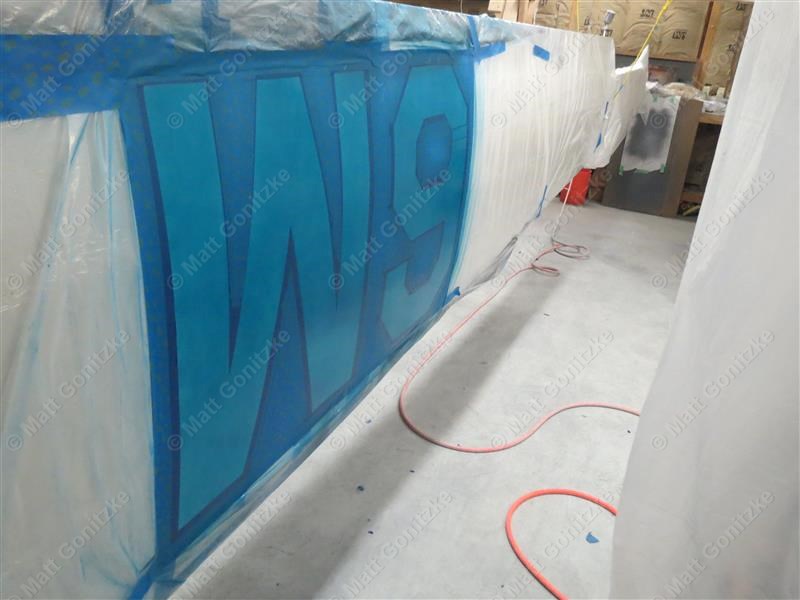
This is after the third coat.
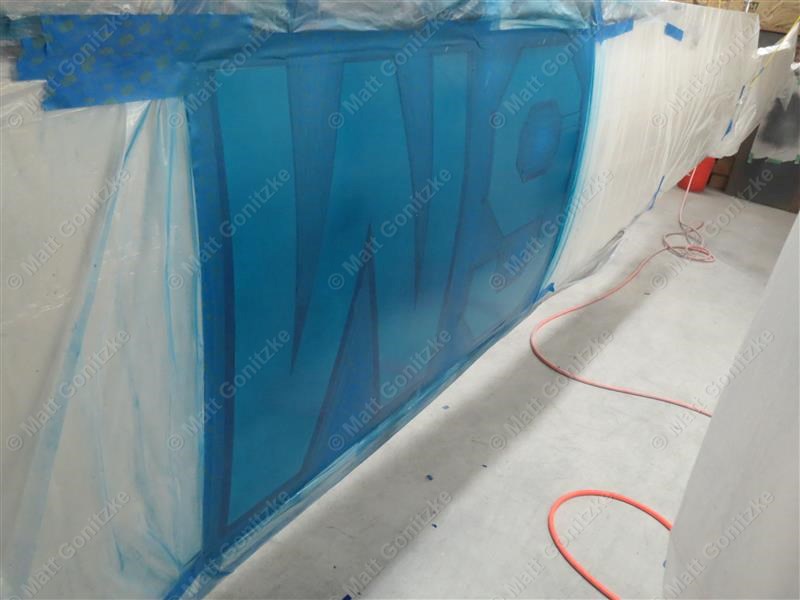
Almost there after the fourth coat.
I sprayed one more coat for good measure and then peeled off the masking tape.
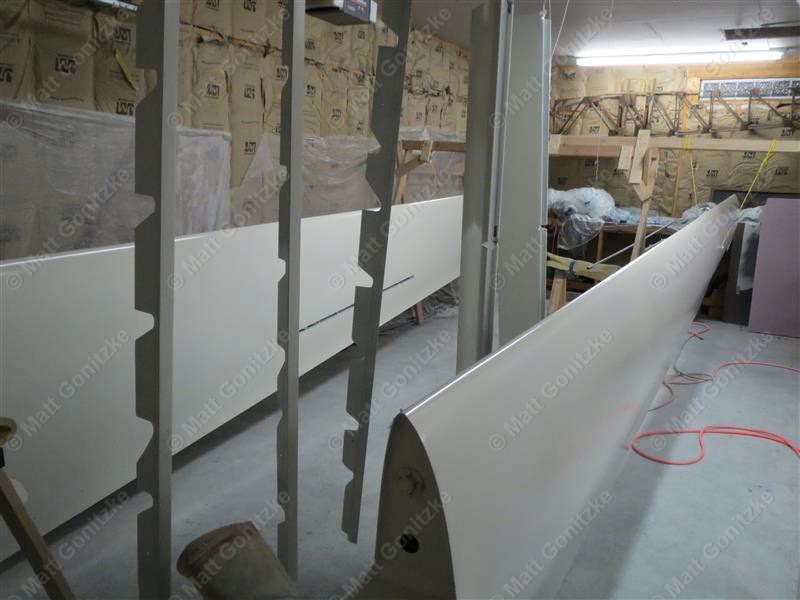
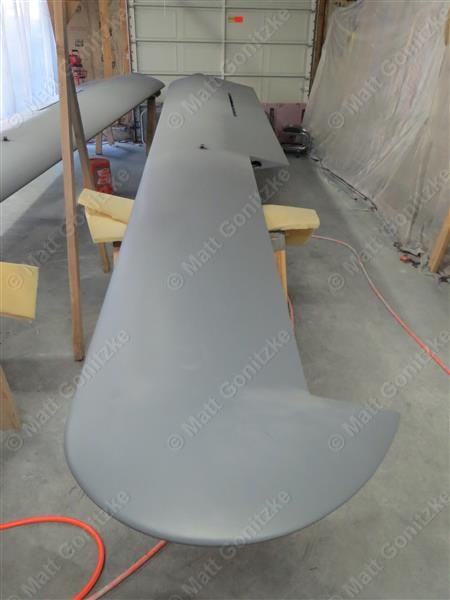
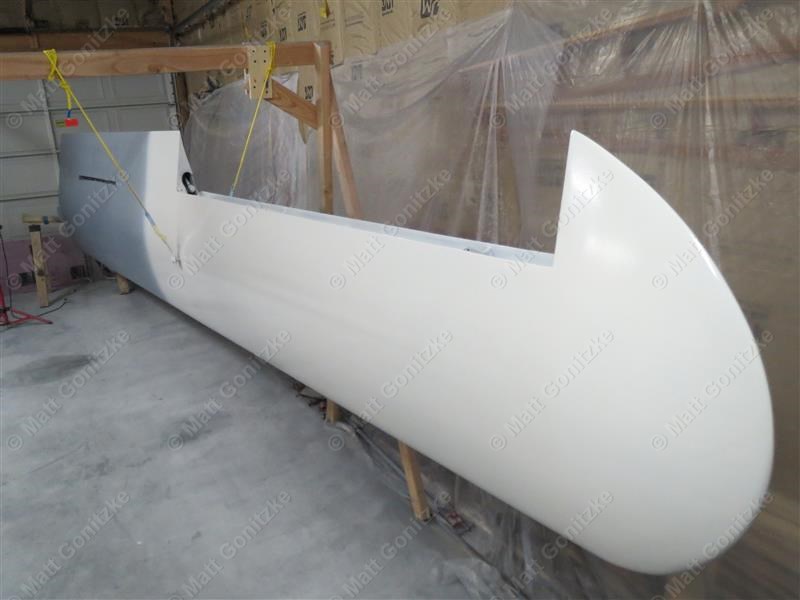
Finally, my second gallon of white paint arrived and I was able to finish the wings.
Getting close now- we weighed the Austria after the completion of the wing restoration, and I had it annualed for the first time. The glider lost almost 15 lbs as a result of the refinishing process. Some of that was later gained back during the fuselage refinishing and the installation of a radio.
Here everything is back in the trailer again, probably for the first time since it arrived at Tony's garage. It would soon go back up to Sunflower for its first flight in years.
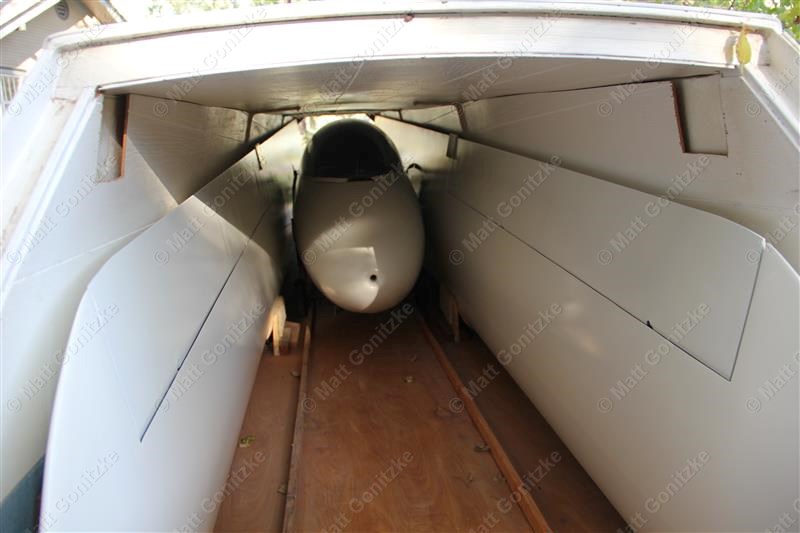
Someday all of this wasted space in the front will be put to use for rigging equipment and things like that once I have a chance to build some sort of removable box to keep everything from touching the glider.
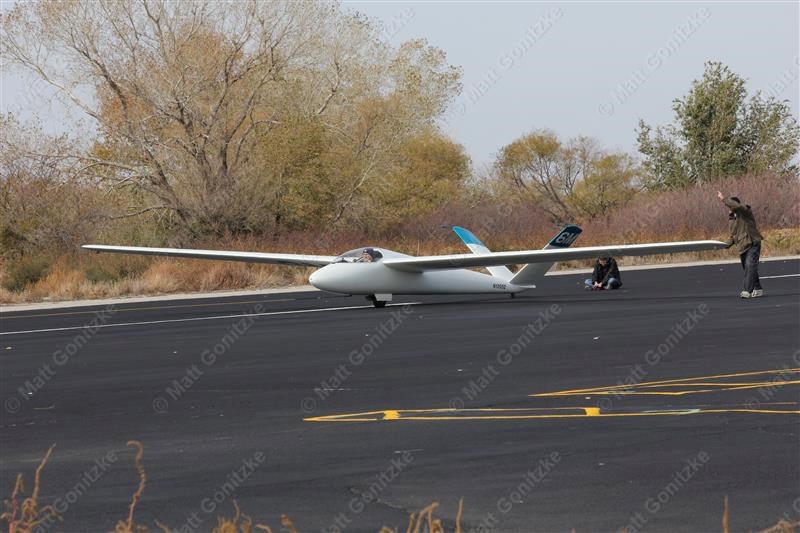
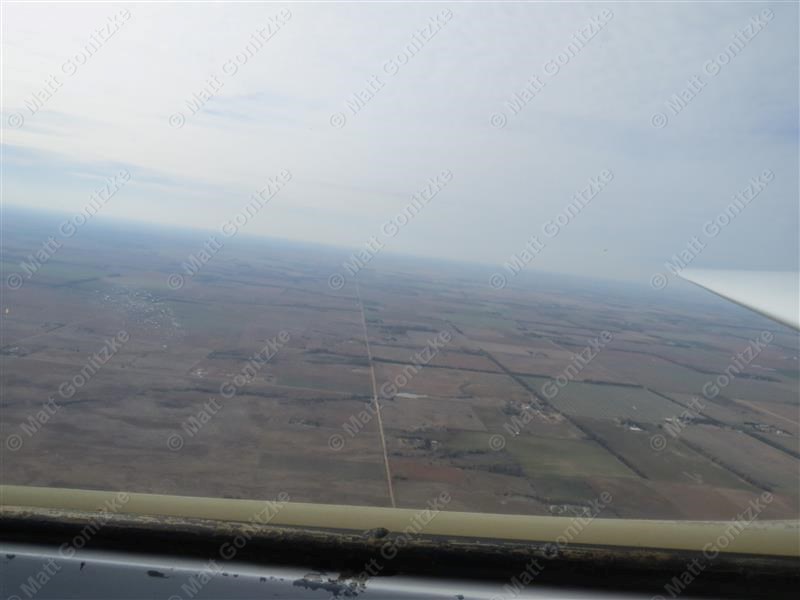
On October 28th, 2012, the Austria took to the skies for the first time since 2004, with Tony at the controls. I figured he would be a good candidate to perform the first flight since I only had about 30 hours of glider time at this point. I mounted my GoPro camera in the cockpit so that I could watch it with Tony giving me pointers before I flew it. This really helped me know what to expect as far as behavior on tow, pitch attitudes during various portions of the flight, etc.
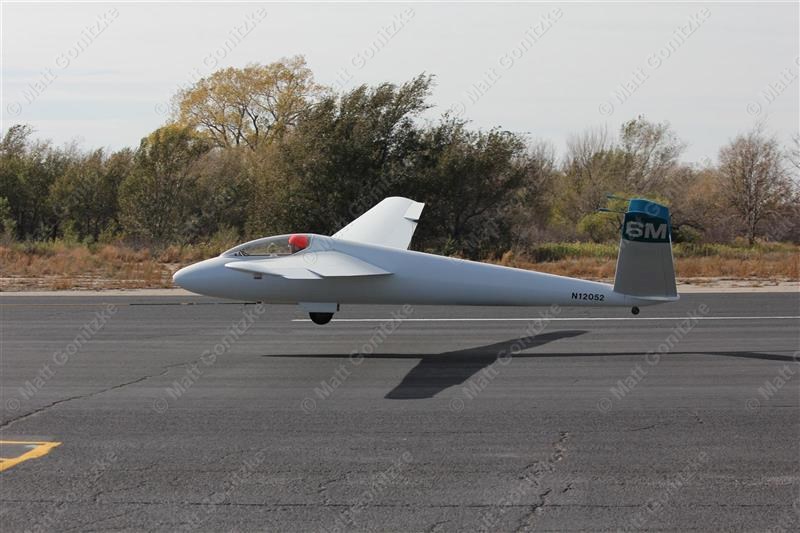
After Tony's successful 12-minute flight, I flew it three times, with one flight lasting about half an hour, which was decent considering that it was late October.
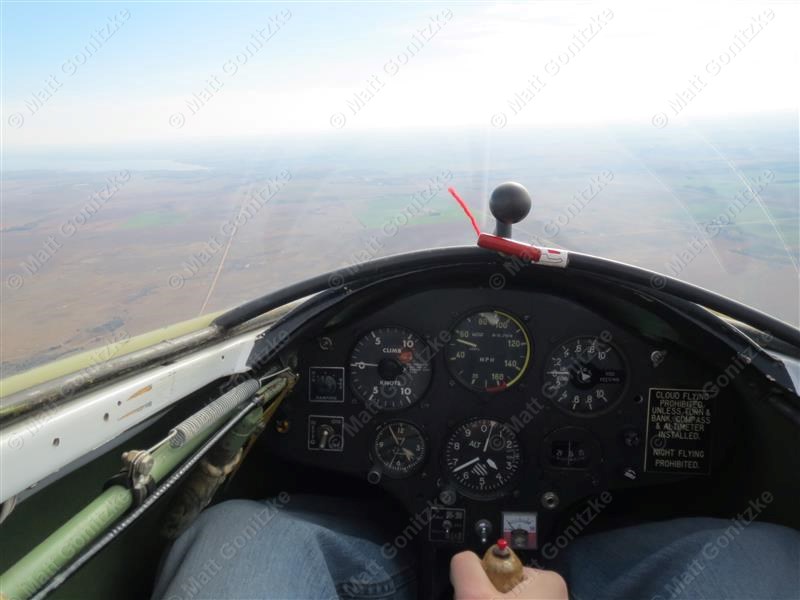
I much prefer this view to sanding, filling, and painting.
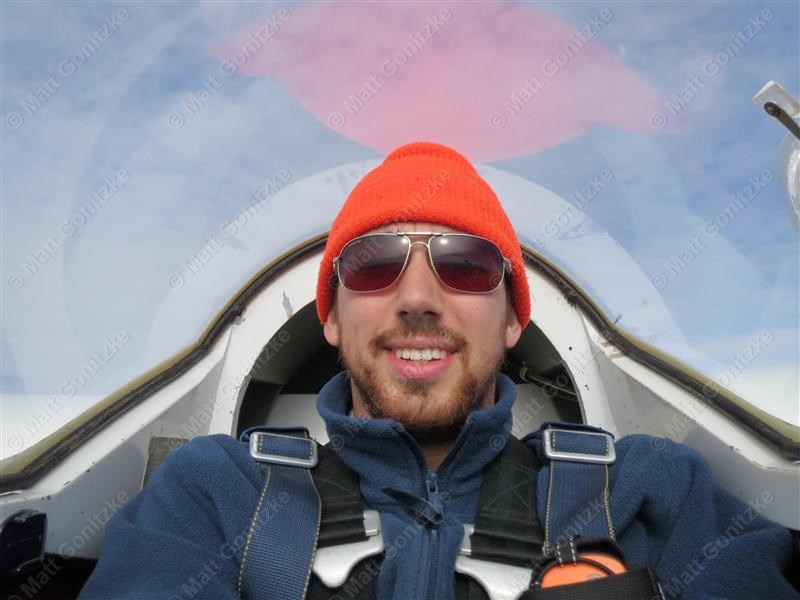
This guy was very happy to be flying instead of working.

This picture now hangs on the wall in my apartment as a constant reminder of the joy of my first flight in my very own glider. Just a few months later, I was working on it again, this time on the fuselage.