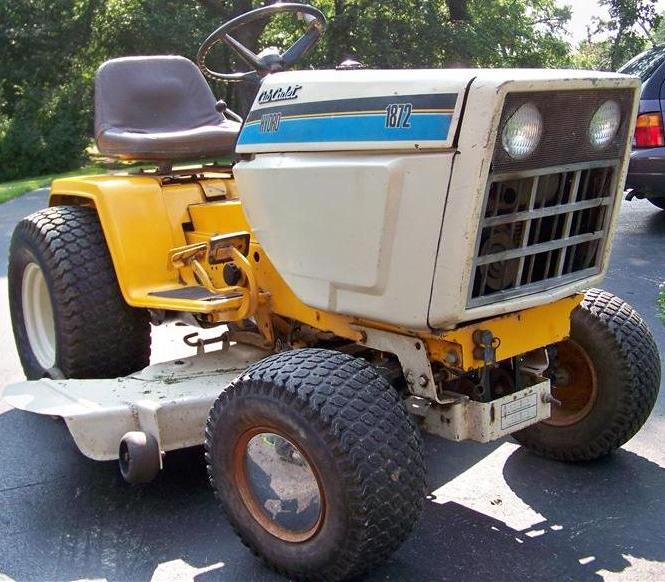
I had been looking for an SGT for quite awhile, but I couldn't afford any. I bid on several at auctions with no luck. This one finally showed up on Craigslist in April 2010, and I had my dad grab it while I was finishing finals at school. It looked pretty good in the pictures and was supposed to be running, driving, and ready to mow.
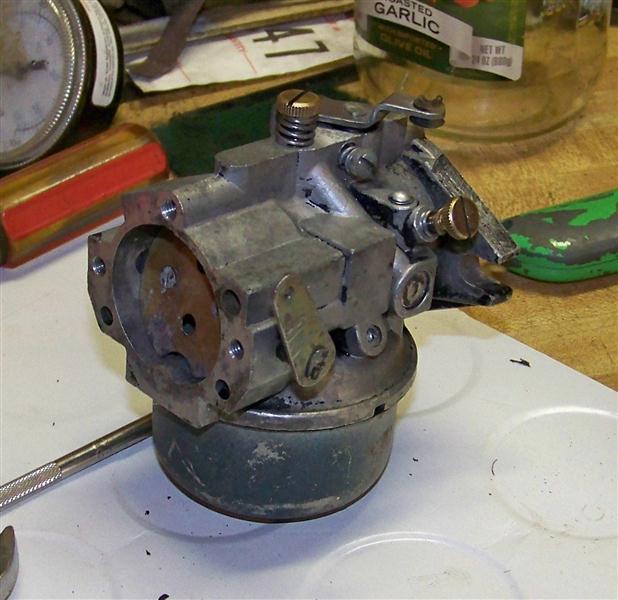
After I got home from school, I started looking it over. The crankcase was filled with gas, meaning I'd need to rebuild the carburetor and take a close look at the fuel pump. A crankcase full of gas is a pretty common problem with opposed-twin cylinder engines. This is usually a result of dirt in the needle and seat, bad needle and seat, stuck or sinking float, or ruptured fuel pump diaphram. I elected to do away with the non-adjustable Walbro carburetor and replace it with the adjustable carburetor from a junked KT-17 engine. I cleaned, rebuilt, and reinstalled the carb, using a new float to eliminate that as a potential problem.
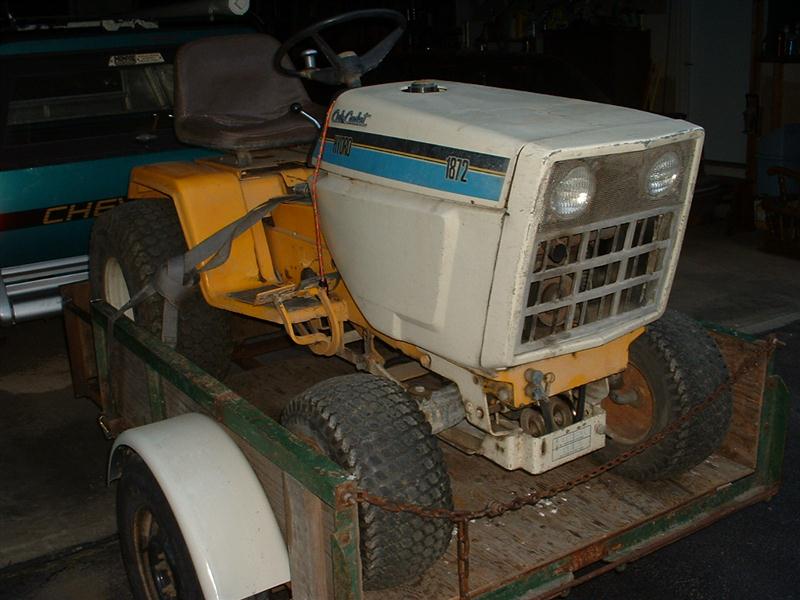
I also noticed that the front transmission mounts had been welded on. This was not much of a surprise to me, as the larger tractors with the aluminum rears will crack the front mounts if the bolts work loose. I also didn't like the 7/16" bolts that were holding the rear in the frame.

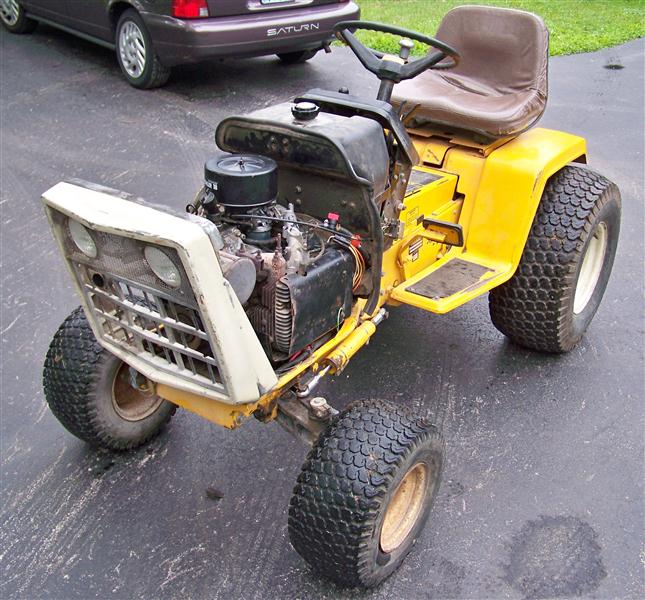
After fixing the carb and a number of other small things, I got it running and drove it around a bit. Here it is without the hood, side panels and some other tinwork on so I could look for leaks. I also installed an inline shutoff so that I can turn the gas off without removing the left side panel.

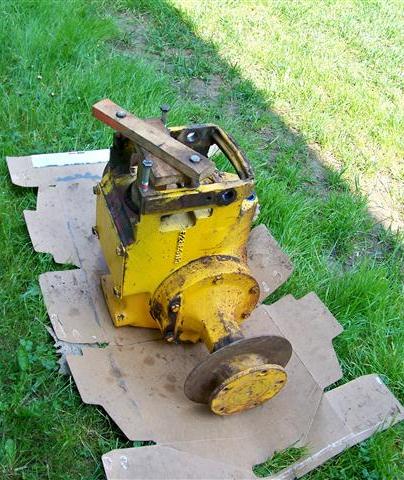
I then decided to replace the aluminum rear with the cast iron (CI) rear from an older tractor, and put the (stronger) internals from the aluminum rear into the CI case. Below is the donor rear (from a 127) before removing most of the paint.
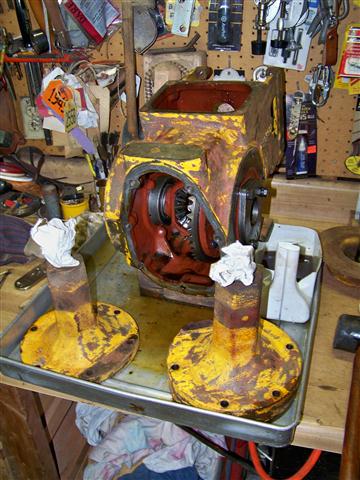
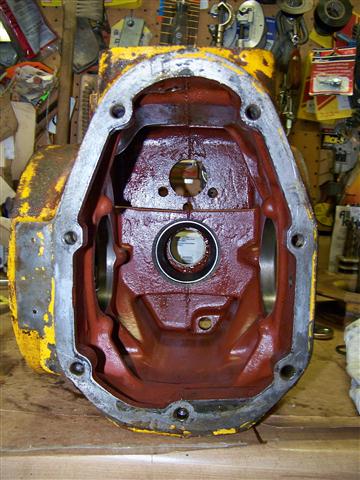
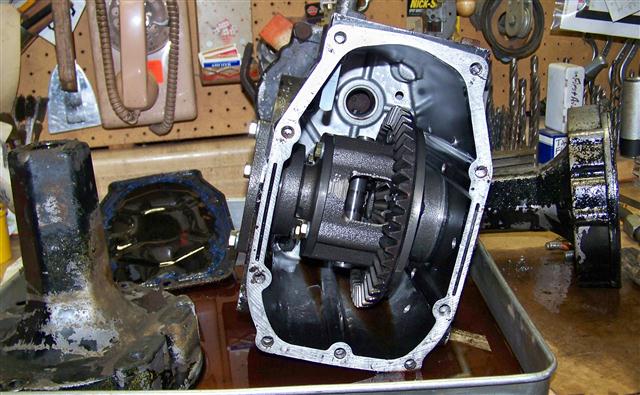
The next four pictures show the progression of the disassembly of the donor rear after removing most of the paint.
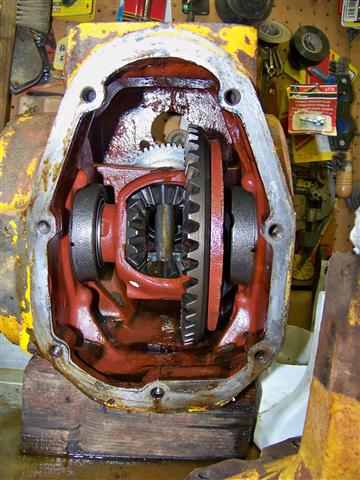
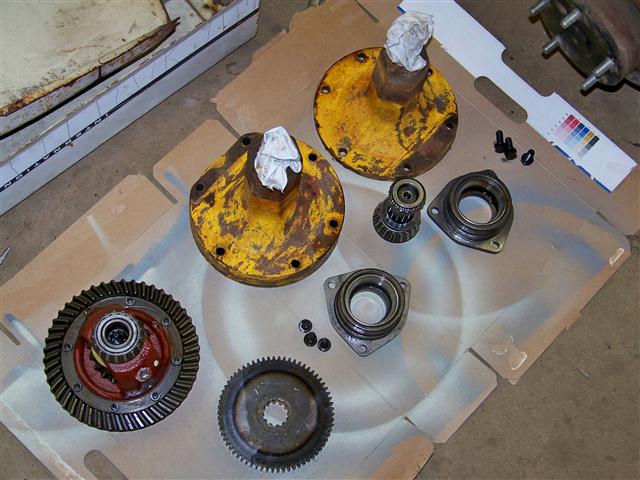
I had originally planned on using the pinion shaft and ring gear from the CI rearend, and just changing the carrier and driven reduction gear, but the spiral cut ring gear in the CI rear had a small crack in one tooth, so I instead had to use ALL of the internals from the aluminum rear. I took the aluminum rear apart, finding that the four bolts that held the rear to the frame twisted off, and the PO jammed 7/16" bolts into the axle tubes to hold it on. It's a good thing I didn't drive it much like this.
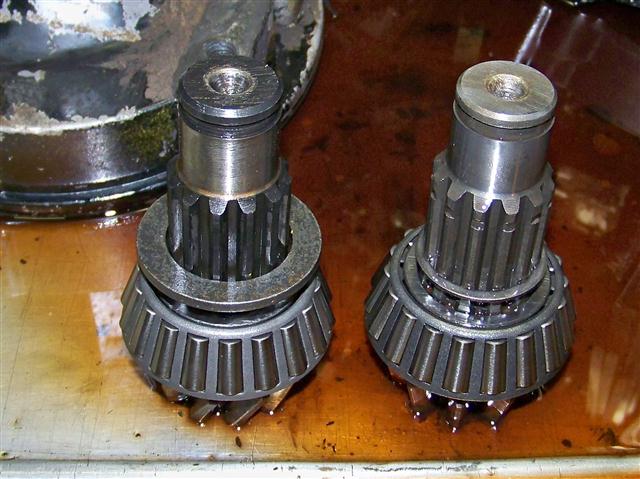
Setting the pinion shafts side-by-side revealed that they are basically identical except for the tooth style on the gear.
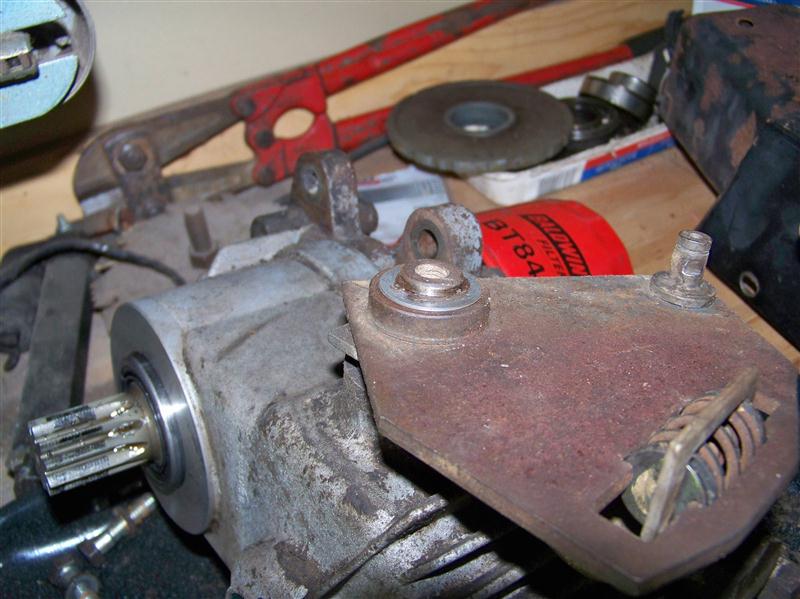
The trunion slot showed no wear, but the linkage plate was pretty wobbly on the trunion shaft, so I added about 0.030" of shims under the snap ring to take up the slop.
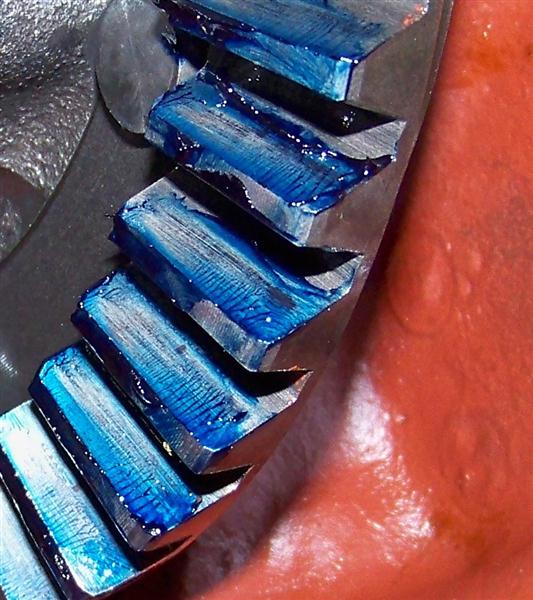
I left the shims alone for the pinion shaft cups, and put in the new pinion shaft after getting the proper preload on the carrier bearings. I then smeared Prussian Blue on the gears to observe the contact pattern. It wasn't right, requiring me to move shims around a bit to move the ring gear closer to the pinion. After doing so, I wound up with this nice contact pattern and 3.5 thou of backlash, towards the tight end of the acceptable range of 3-8 thou.

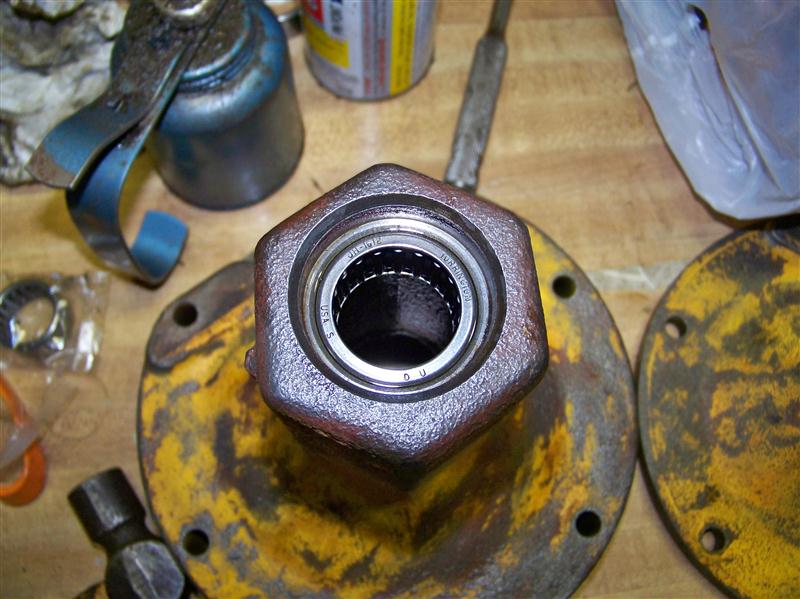
Since I had this so far apart, I installed new axle bearings and seals.
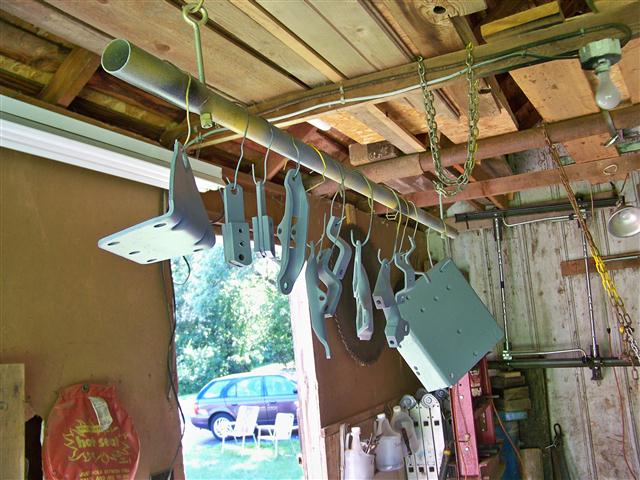
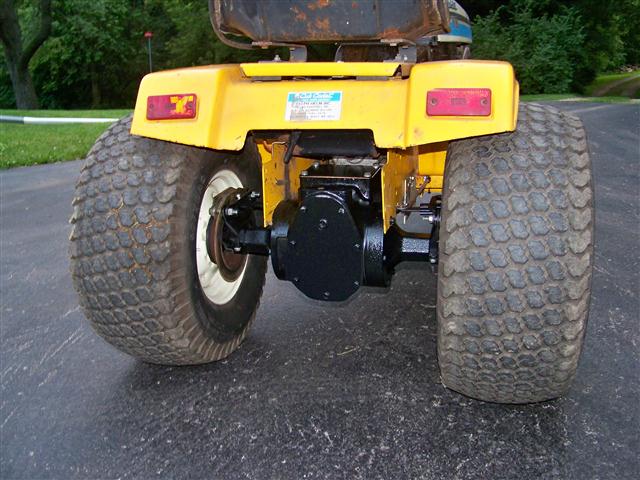
After reassembly, I primed and painted the rear and the associated brake parts before reinstalling the rear into the tractor.
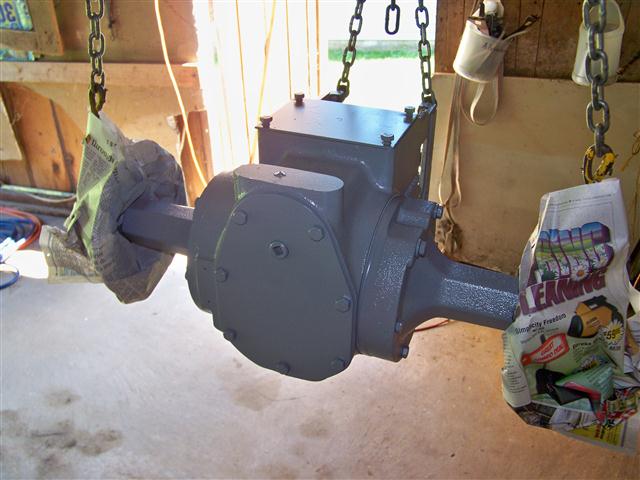
I let the paint dry for a couple of days, and then put the brakes back together and bolted wheels on so I could roll the rear back into the garage and put on the hydro unit. Every time I paint something, I am reminded of why I don't care for freshly-painted stuff. It is damaged so easily, unlike 30+ year-old paint.
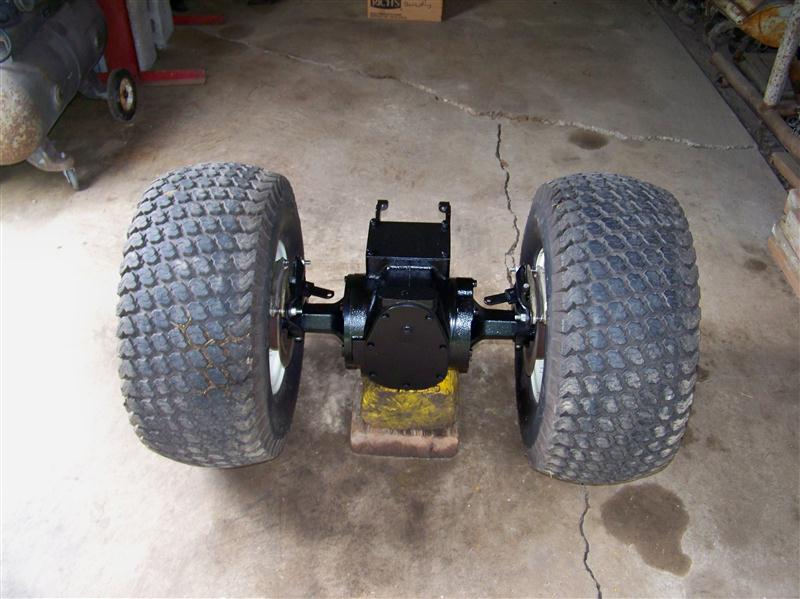
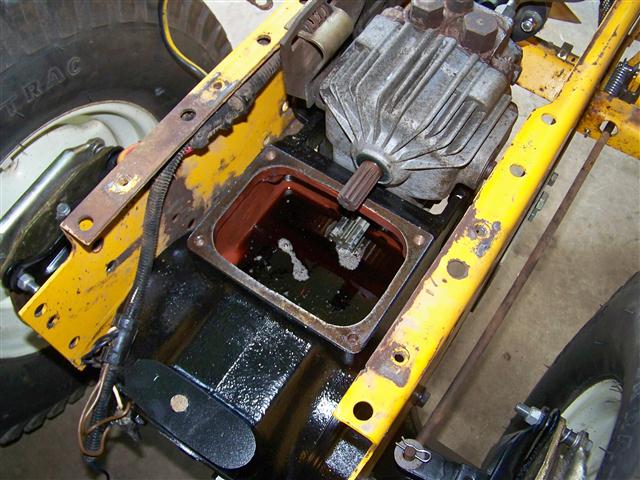
I installed the rear into the tractor, and then filled it with Hytran through the giant rectangular hole in the top. It's much faster than dribbling it through the hole in the back cover. The unit is full when the driven reduction gear is just covered by the surface of the fluid.
I put the fenders back on and started it up and drove it. No unusual noises or leaks, and the tractor has gained just over 50 lbs. with this swap.
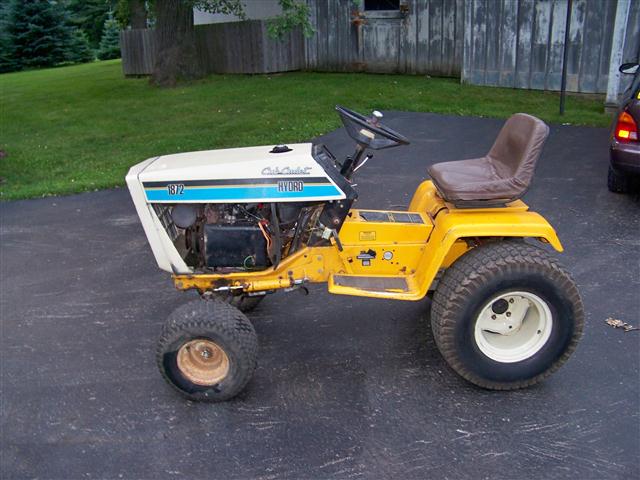
Towards the end of June, 2010, I was finally able to mow with it for the first time. As of January 2011, I have acquired a 364 45" 2-stage snowblower. I finished it just before heading back to school for my last semester, so I haven't even been able to try it yet. I also bought new rear tires (Carlisle Tru-Power) and installed them. I also need to repaint the front wheels and replace the leaky front tires. The deck that came with this tractor needs work. I'm currently using the 50" deck I fixed up for my 782D before I had the 46GT deck for the diesel.